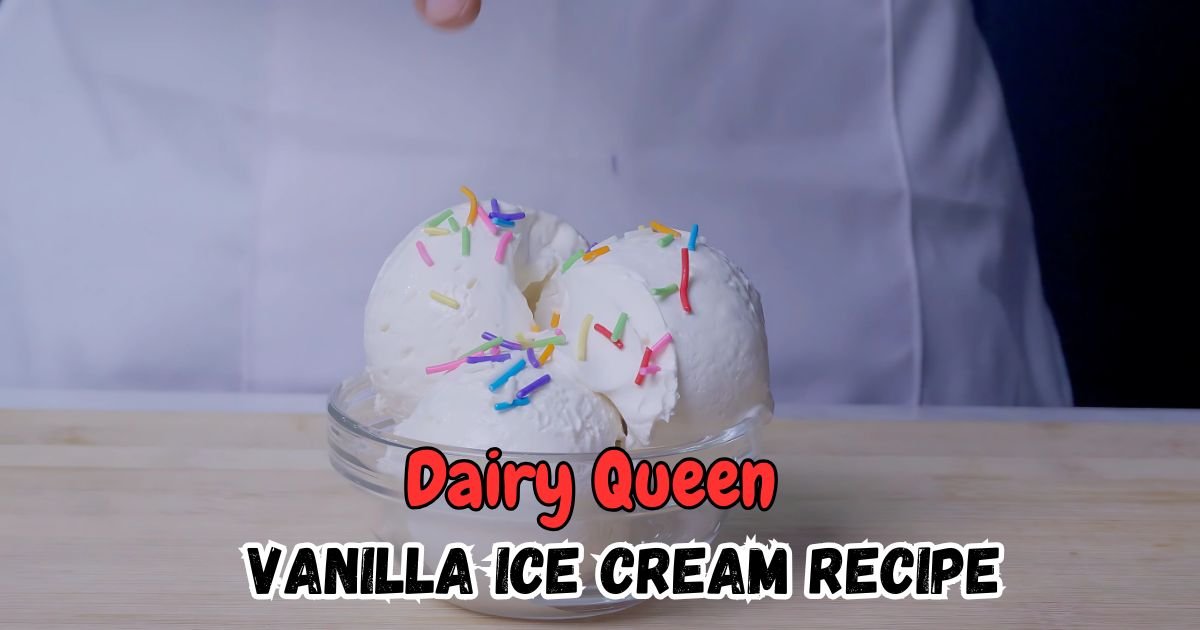
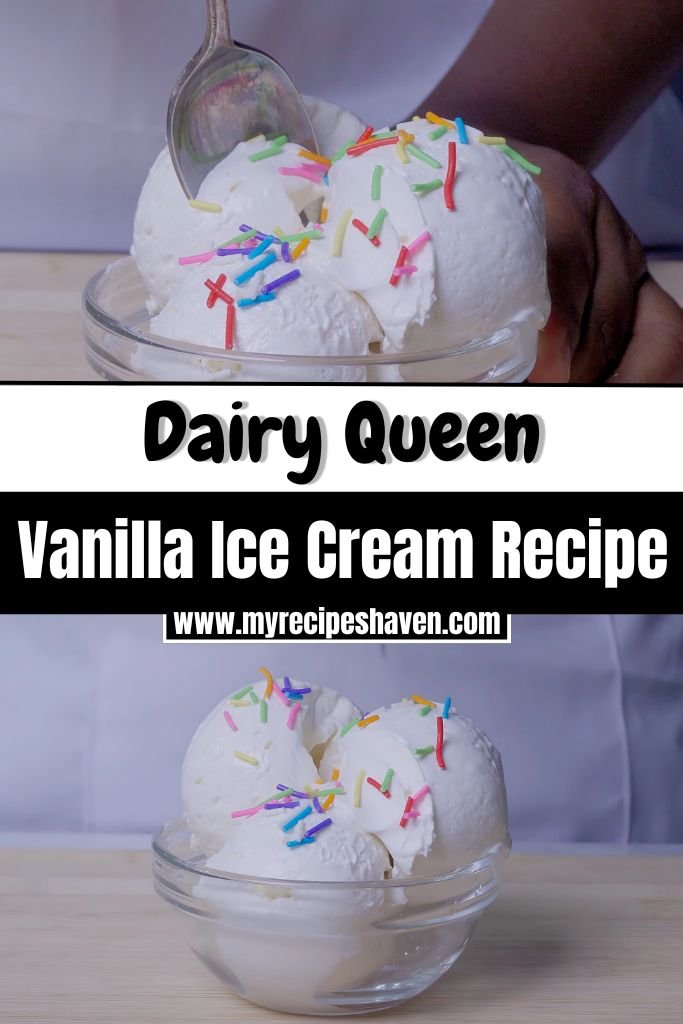
Dairy Queen Vanilla Ice Cream Recipe
There’s something about a cold scoop of vanilla ice cream that just makes any day better. I remember a few months back, I walked into a Dairy Queen after a long, hot day.
Like always, I looked at the dessert menu first-because I always go for something sweet when I visit a restaurant. I ordered their vanilla ice cream, and wow, it was smooth, rich, and just hit the spot! I couldn’t stop thinking about it.
So I thought, why not try making it at home? After some testing in my kitchen, I figured out a simple way to copy their flavor.
Best part is that this copycat version Dairy Queen Vanilla Ice Cream Recipe only needs 4 ingredients and just a few minutes to prepare before freezing.
Now, every time I crave that creamy goodness, I whip up this easy treat. Today, I’m sharing my go-to recipe with you so you can enjoy it too, anytime you want.
Why You’ll Love This Copycat Recipe
You will love this recipe for so many reasons. Here’s why this homemade version beats store-bought ice cream every time:
- You only need 4 simple ingredients that you can find at any grocery store. No fancy or hard-to-find items needed.
- You don’t need an ice cream maker to get perfect results. Just a hand mixer and some patience while it freezes.
- You can make it in under 10 minutes of active work time. The freezer does all the hard work for you.
- You control what goes into your ice cream – no weird chemicals or preservatives like some store brands.
- You save money compared to buying premium ice cream from the store. This recipe makes a lot for very little cost.
- You can customize it easily by adding your favorite mix-ins or toppings when serving.
- You get that authentic Dairy Queen taste right in your own home whenever you want it.
Dairy Queen Vanilla Ice Cream Ingredients
You don’t need a long list of things to make great ice cream. Just a few fresh and simple ingredients make this recipe shine.
1. Whipping Cream (1 ½ cups)
This is what makes the ice cream creamy and light. It needs to be cold, straight from the fridge. When you whip it, it gets fluffy and forms the base of the ice cream.
2. Sweetened Condensed Milk (¾ cup)
This thick and sweet milk blends with the whipped cream to give the perfect level of sweetness. It also helps the ice cream stay smooth, not icy.
3. Vanilla Essence (1 tablespoon)
This gives the ice cream that rich, classic vanilla flavor we all love. Try using good-quality vanilla – it really makes a difference.
4. Pinch of Salt
Just a small pinch helps balance the sweetness and brings out the vanilla flavor even more. It may sound small, but it’s important.
Kitchen Appliances
To make this Dairy Queen Vanilla Ice Cream Recipe, you’ll need these tools:
- Hand Mixer – To whip the cream until fluffy.
- Mixing Bowl – A medium-sized bowl works great.
- Spatula – Helps mix and fold everything gently.
- Freezer-Safe Container – A loaf pan or plastic container with a lid.
- Ice Cream Scoop – For serving those perfect scoops.
How To Make Dairy Queen Vanilla Ice Cream
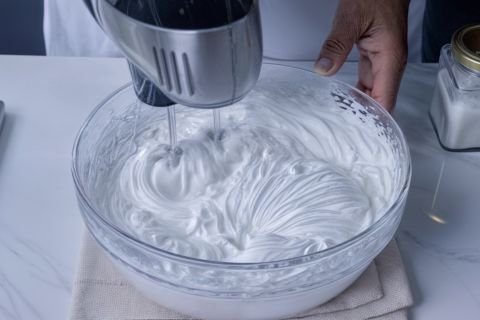
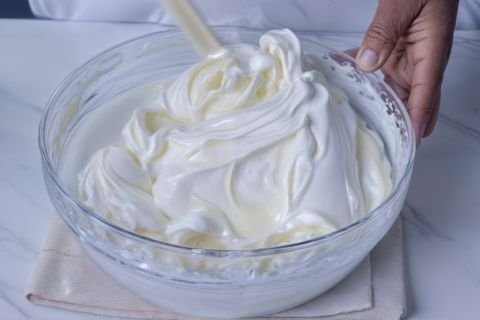
Step 1 | Whip the Cream
Pour 1 ½ cups of whipping cream into a mixing bowl. Use a hand mixer on high speed to whip the cream until it forms stiff peaks. This takes about 1-4 minutes. The cream should double in size and hold its shape.
Step 2 | Add the Sweetness
Gently pour in ¾ cup of condensed milk, 1 tablespoon of vanilla essence, and a pinch of salt. Use a spatula to fold these ingredients into the whipped cream. Mix until everything is smooth and combined.
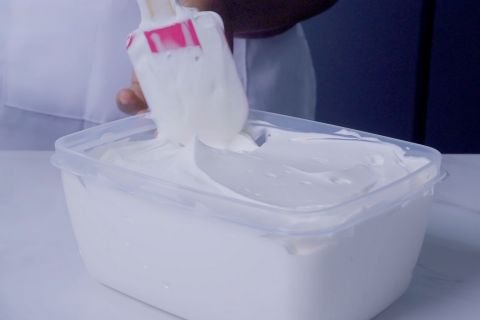
Step 3 | Transfer to a Container
Scrape the ice cream mixture into a freezer-safe container. Smooth the top with your spatula to make it even.
Step 4 | Remove Air Pockets
Tap the container on your countertop 2-3 times. This gets rid of any air bubbles that could make the ice cream icy.
Step 5 | Freeze It
Cover the container and place it in the freezer. Let it chill for at least 6 hours, or overnight for the best results.
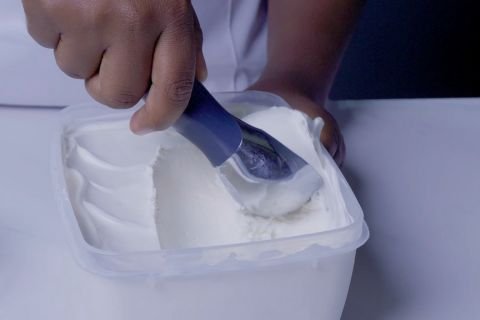
Step 6 | Serve and Enjoy
Once frozen, use an ice cream scoop to serve your creamy vanilla ice cream. Enjoy it in a bowl, cone, or with your favorite toppings!
Recipe Perfection Tips
Here are some extra tips to make your Dairy Queen Vanilla Ice Cream Recipe turn out perfect every time:
- Make sure your cream is really cold before whipping. Put the bowl and beaters in the freezer for 15 minutes before starting if your kitchen is warm.
- Don’t over-whip the cream or it will turn into butter. Stop as soon as you see stiff peaks form.
- Fold ingredients gently to keep the mixture light and airy. Rough mixing will make dense ice cream.
- Press plastic wrap directly onto the surface of the ice cream before putting the lid on. This prevents ice crystals from forming on top.
- Let the ice cream soften for a few minutes at room temperature if it’s too hard to scoop.
- For extra smooth texture, blend the condensed milk and vanilla together before adding to the whipped cream.
Mix-Ins, Toppings & Serving Suggestions
This vanilla ice cream is perfect on its own, but you can make it even more special with these ideas:
Mix-Ins: Fold in chocolate chips, crushed cookies, caramel swirls, or fresh fruit pieces before freezing. Add these during step 2 when you’re folding in the other ingredients.
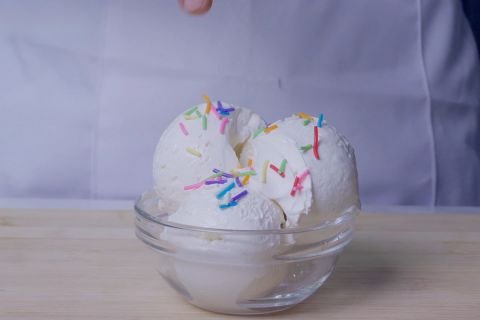
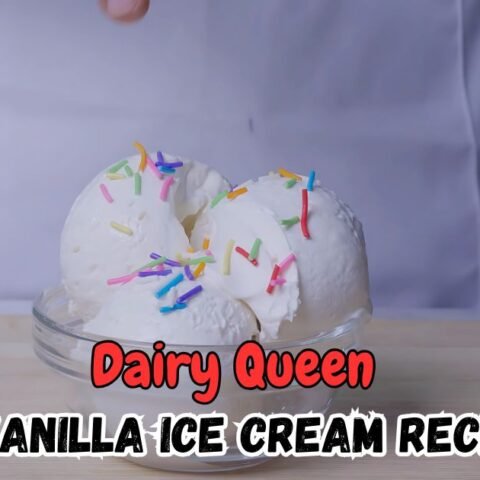
Toppings: Serve with hot fudge, caramel sauce, fresh berries, whipped cream, or chopped nuts. Sprinkles make it fun for kids too.
Serving Ideas: Make ice cream sandwiches with cookies, serve in waffle cones, or use it to make milkshakes. It’s also great alongside warm desserts like pie or brownies.
Storage Tips
Once you’ve made your ice cream, you’ll want to store it the right way. Use an airtight container and keep it in the coldest part of your freezer. This helps keep the texture smooth and creamy.
Try to eat it within 1 to 2 weeks for the best flavor. If it’s too hard when you take it out, let it sit on the counter for about 5 minutes before scooping.
Don’t refreeze melted ice cream – that can make it icy and not as tasty. Always scoop with a clean spoon to keep it fresh longer.
Dairy Queen Vanilla Ice Cream Recipe FAQs
1. Can I make this recipe without a hand mixer?
Yes, you can whip the cream by hand with a wire whisk, but it will take much longer – about 10-15 minutes of constant whisking. Your arm will get tired, but it’s definitely possible.
You can also use a stand mixer if you have one. The important thing is getting the cream to form stiff peaks, no matter what tool you use.
2. Why is my ice cream too soft or not freezing properly?
This usually happens when the cream wasn’t whipped enough or the freezer temperature isn’t cold enough. Make sure your cream forms stiff peaks before adding other ingredients.
Also check that your freezer is set to 0°F or below. If your mixture was too warm when you put it in the freezer, it will take longer to freeze solid.
3. Can I use different types of milk instead of condensed milk?
Sweetened condensed milk is really important for this recipe because it provides sweetness and helps create the smooth texture. Regular milk won’t work the same way.
You could try making your own condensed milk by simmering milk and sugar until thick, but store-bought is much easier and gives better results.
4. Can I add food coloring to make different colored ice cream?
Yes, you can add a few drops of food coloring during step 2 when you’re folding in the other ingredients. Gel food coloring works better than liquid because it won’t thin out your mixture.
Start with just a tiny amount – you can always add more, but you can’t take it out once it’s mixed in.
5. Why does my ice cream have ice crystals in it?
Ice crystals usually form when there’s too much air in the mixture or when the ice cream isn’t stored properly. Make sure to tap out air bubbles before freezing, and always press plastic wrap directly onto the surface.
Also, try not to open the freezer too often while it’s freezing, as temperature changes can cause crystals to form.
Dairy Queen Vanilla Ice Cream Recipe
Make creamy Dairy Queen Vanilla Ice Cream at home in just 10 mins prep + freeze time! A rich, easy copycat recipe with only 4 ingredients.
Ingredients
- 1½ cups whipping cream (cold)
- ¾ cup sweetened condensed milk
- 1 tablespoon vanilla essence
- 1 pinch salt
Instructions
- Pour 1 ½ cups of whipping cream into a mixing bowl. Use a hand mixer on high speed to whip the cream until it forms stiff peaks. This takes about 1-4 minutes. The cream should double in size and hold its shape.
- Gently pour in ¾ cup of condensed milk, 1 tablespoon of vanilla essence, and a pinch of salt. Use a spatula to fold these ingredients into the whipped cream. Mix until everything is smooth and combined.
- Scrape the ice cream mixture into a freezer-safe container. Smooth the top with your spatula to make it even.
- Tap the container on your countertop 2-3 times. This gets rid of any air bubbles that could make the ice cream icy.
- Cover the container and place it in the freezer. Let it chill for at least 6 hours, or overnight for the best results.
- Once frozen, use an ice cream scoop to serve your creamy vanilla ice cream. Enjoy it in a bowl, cone, or with your favorite toppings!
Nutrition Information:
Yield: 6 Serving Size: ½ Cup ServingAmount Per Serving: Calories: 276Total Fat: 20gSaturated Fat: 13gTrans Fat: 0gCholesterol: 70mgSodium: 75mgCarbohydrates: 22gFiber: 0gSugar: 22gProtein: 3g
This Dairy Queen Vanilla Ice Cream Recipe has become my go-to dessert. It’s simple, tasty, and reminds me of that sweet DQ treat every time I make it. Now, it’s your turn to try.
Did you make this recipe? Please leave a ⭐ rating and review!