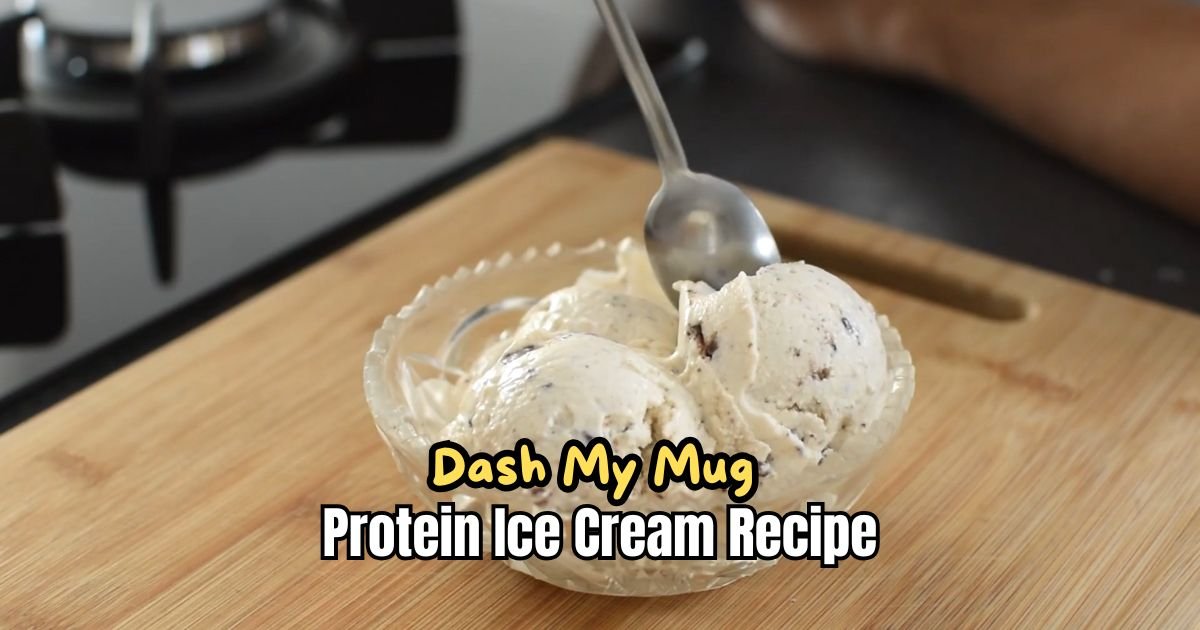
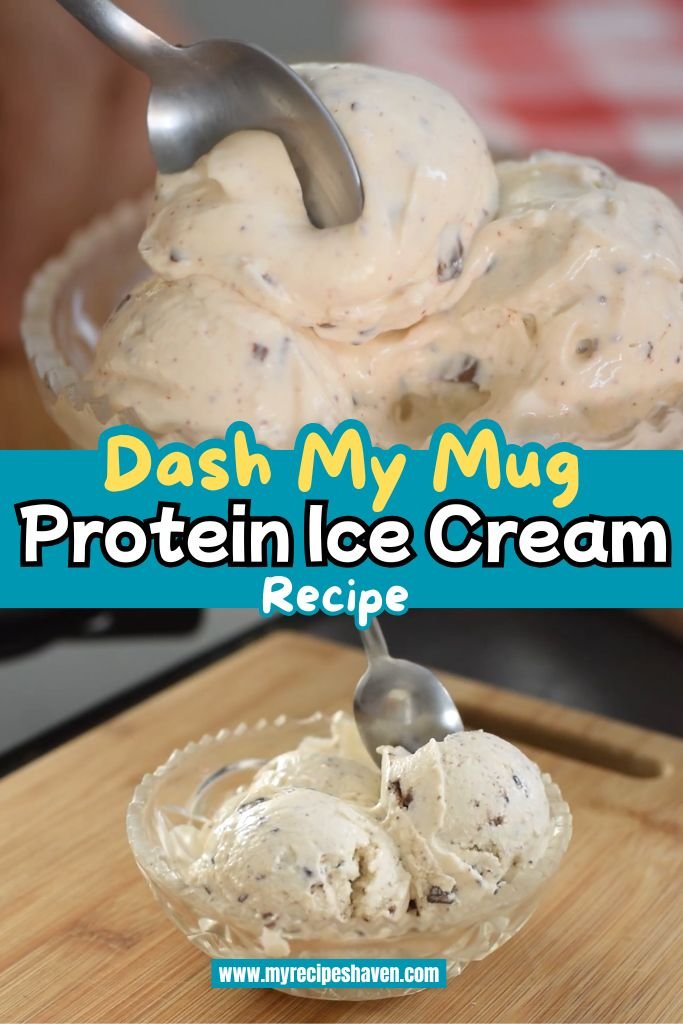
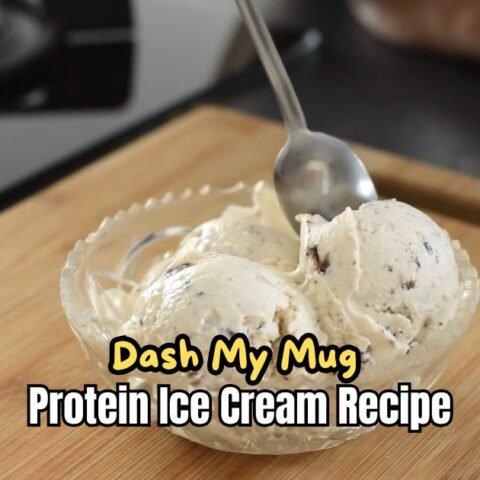
Dash My Mug Protein Ice Cream Recipe
I love ice cream. I mean, who doesn’t? One hot day, I was craving something cold but didn’t want to feel guilty afterward.
I wanted something sweet, cool, and creamy—but also a little healthy. That’s when I tried something new in my little Dash My Mug machine. It changed everything!
So, today, I’m sharing my Dash My Mug Protein Ice Cream Recipe. It’s super easy, packed with protein, and perfect when you want a treat that fits your goals.
If you’re like me, you want snacks that are quick to make and taste good without a ton of sugar. And hey, not all of us are pro cooks, right?
This one’s easy. You don’t need to be fancy. Just follow the steps, and you’ll have a yummy protein ice cream you can feel good about.
What Does Dash My Mug Protein Ice Cream Taste Like?
I’ll be honest—when I first made it, I didn’t expect it to taste this good. You know how some protein things can taste chalky or weird? Not this. It’s smooth, creamy, and just sweet enough.
If you like the taste of milkshakes or frozen yogurt, this is right up your alley. It reminds me of a mix between soft-serve ice cream and a cold protein shake.
You can taste your mix-ins too. I’ve added chocolate chips, peanut butter, and even banana slices. It all depends on what you like. And the cool part? You can make it taste how you want.
Key Ingredients in Dash My Mug Protein Ice Cream
Here’s what you need to make this yummy ice cream. I’ll explain each ingredient and give you some swap ideas if you don’t have something on hand.
- Unsweetened Almond Milk (1/2 cup): This is the base that keeps the ice cream light and dairy-free. It’s smooth and doesn’t add extra sugar. If you don’t have almond milk, you can use regular milk, soy milk, or oat milk. Just make sure it’s unsweetened to control the sweetness.
- Heavy Cream (1/4 cup): This makes the ice cream rich and creamy. It gives that soft-serve texture we all love. If you’re dairy-free, swap it with coconut cream. It works just as well and adds a slight coconut flavor.
- Vanilla Protein Powder (1 scoop, about 30g): This is the star for adding protein. I use whey protein because it blends smoothly and tastes great. You can use plant-based protein powder if you’re vegan, but pick one with a mild flavor so it doesn’t overpower the ice cream.
- Granulated Sugar (2 tablespoons): This adds just enough sweetness. I like regular sugar, but you can use honey, maple syrup, or a sugar-free sweetener like stevia. If you use liquid sweeteners, reduce the almond milk by a tablespoon to keep the mix thick.
- Vanilla Extract (1/2 teaspoon): This gives a warm, classic ice cream flavor. If you don’t have it, you can skip it or use a pinch of cinnamon for a different twist.
- Pinch of Salt: A tiny bit of salt makes all the flavors pop. Regular table salt works fine. If you don’t have it, you can leave it out, but it does make a difference.
Required Kitchen Tools
Here’s what you need to make this Dash My Mug Protein Ice Cream Recipe:
- Dash My Mug Ice Cream Maker
- Liquid measuring cup
- Small mixing bowl
- Whisk or spoon
- Blender (optional, for smoother mixing)
- Measuring spoons
- Freezer (to freeze the mug beforehand)
How To Make Dash My Mug Protein Ice Cream
Making this ice cream is so easy, even if you’re new to cooking. Follow these steps, and you’ll have a tasty treat in no time.
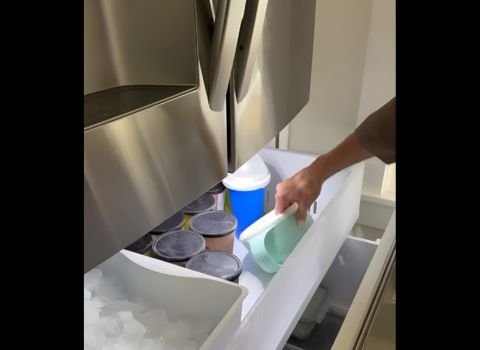
Step 1 | Freeze the Mug
Put the Dash My Mug bowl in your freezer for at least 24 hours. Keep it upright so it freezes evenly. Your freezer should be at 0°F or colder.
Step 2 | Mix the Base
In a small bowl or liquid measuring cup, pour in 1/2 cup of unsweetened almond milk. Add 2 tablespoons of sugar and whisk until the sugar dissolves completely. This takes about a minute.
Step 3 | Add Protein Powder
Add 1 scoop of vanilla protein powder to the milk. Whisk or blend until it’s smooth with no lumps. A blender makes this super quick, but a whisk works fine too.
Step 4 | Stir in Cream and Flavor
Pour in 1/4 cup of heavy cream, 1/2 teaspoon of vanilla extract, and a pinch of salt. Stir everything together until it’s well mixed. The mixture should look smooth and a little thick.
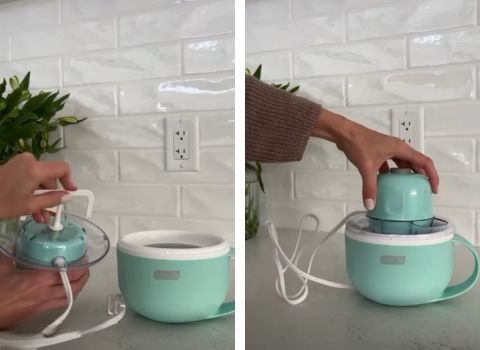
Step 5 | Set Up the Machine
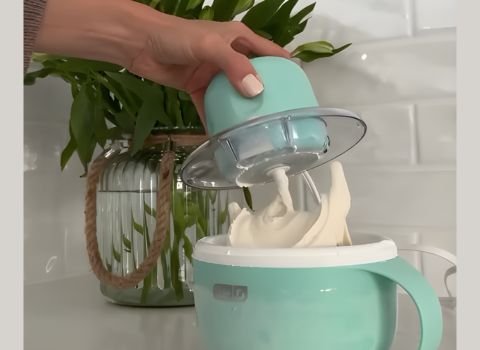
Take the frozen mug out of the freezer and place it on a flat surface. Attach the motor to the lid, then click the paddle into the motor’s base. Lock the lid onto the mug by aligning the pins and twisting clockwise.
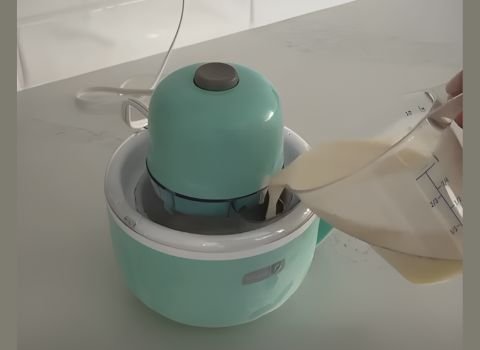
Step 6 | Start Churning
Plug in the ice cream maker and turn it on. The paddle will start spinning. Slowly pour your mixture through the pouring chute while the machine is running.
Step 7 | Add Mix-Ins (Optional)
If you want extras like chocolate chips or fruit, drop them through the chute during the last 5 minutes of churning. This mixes them in evenly.
Step 8 | Churn Until Done
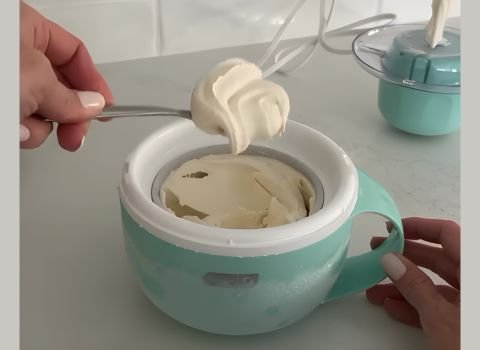
Let the machine run for 15-20 minutes until the ice cream looks like soft-serve. Check it around 15 minutes to see if it’s thick enough for you.
Step 9 | Stop and Serve
Turn off the machine and unlock the lid by twisting counterclockwise. Scoop the ice cream out or eat it right from the mug!
Chef’s Note + Tips
- Chill Ingredients: Keep your almond milk and cream cold before mixing. It helps the ice cream freeze faster.
- Don’t Overfill: Stick to the recipe amounts so the mug doesn’t overflow.
- Clean Right Away: Rinse the paddle and lid after use to avoid sticky buildup.
- Try Flavors: Add a tablespoon of cocoa powder for chocolate ice cream or blend in frozen berries for a fruity twist.
- Check Sweetness: Taste the mixture before churning. If it’s not sweet enough, add a bit more sugar or sweetener.
Make Ahead & Storage
You can prep the Dash My Mug Protein Ice Cream mixture a day ahead. Mix all the ingredients and store them in a covered container in the fridge. When you’re ready, just pour it into the frozen mug and churn.
For storage, eat it right away for soft-serve, or put the mug in the freezer for 1-2 hours for a firmer texture. Cover it with a lid or plastic wrap to keep it fresh.
It stays good in the freezer for about a week. If it gets too hard, let it sit out for 10 minutes before scooping.
If the ice cream smells off, tastes sour, or has ice crystals all over, it’s gone bad. Toss it and make a fresh batch.
How To Serve Dash My Mug Protein Ice Cream
This Dash My Mug Protein Ice Cream is perfect for a quick dessert or post-workout treat. Serve it in the mug for a fun, single-serve vibe. You can top it with fresh berries, a sprinkle of nuts, or a drizzle of honey for extra flavor.
If you’re sharing, scoop it into small bowls for two. It’s great for a cozy night in or a healthy snack. For kids, add colorful sprinkles to make it fun. You can also pair it with a warm cookie for a yummy contrast.
Dash My Mug Protein Ice Cream Recipe FAQs
1. Can I use a different protein powder?
Yes, you can use any protein powder you like. Whey protein gives the creamiest texture, but plant-based ones like pea or soy work too.
Just pick a flavor that matches, like vanilla or chocolate. If it’s unsweetened, you might need extra sugar. Blend well to avoid lumps. It’s all about what tastes good to you
2. What if I don’t have a Dash My Mug Ice Cream Maker?
No Dash My Mug? No problem! Blend the ingredients, pour them into a freezer-safe container, and freeze for 3-4 hours.
Stir every 30 minutes to break up ice crystals. It won’t be as smooth, but it still tastes great. You can also try a blender method for a quick soft-serve.
3. How do I make it sweeter?
If you want it sweeter, taste the mixture before churning. Add an extra teaspoon of sugar, honey, or stevia. Liquid sweeteners like maple syrup work too, but reduce the milk by a bit.
Keep adjusting until it’s perfect for you. It loses some sweetness when frozen, so make it a touch sweeter than you think.
4. Can I add mix-ins?
Yes, mix-ins are awesome! Add chocolate chips, nuts, or fruit pieces through the chute in the last 5 minutes of churning.
About 2 tablespoons is enough for one mug. Blend frozen fruit into the base for a fruity flavor. Don’t overdo it, or the ice cream might not set right.
5. Why is my ice cream too soft?
If it’s too soft, your mug might not be cold enough. Freeze it for a full 24 hours at 0°F or colder. Also, make sure your ingredients are chilled before churning. If it’s still soft, pop it in the freezer for 1-2 hours after churning for a firmer texture.
6. How do I clean the Dash My Mug Ice Cream Maker?
Unplug the machine first. Rinse the paddle and lid with warm water and mild soap right after use. Wipe the motor with a damp cloth, but don’t soak it.
The mug can go in the dishwasher, but hand-washing keeps it in better shape. Dry everything before storing.
Dash My Mug Protein Ice Cream Recipe
Make Dash My Mug Protein Ice Cream in just 25 minutes! A creamy, high-protein treat using simple ingredients. Perfect single-serve dessert.
Ingredients
- 1/2 cup Unsweetened Almond Milk
- 1/4 cup Heavy Cream (or coconut cream for dairy-free)
- 1 scoop (30g) Vanilla Protein Powder (whey or plant-based)
- 2 tablespoons Granulated Sugar (or honey/maple syrup/stevia)
- 1/2 teaspoon Vanilla Extract
- Pinch of Salt
Instructions
Step 1 | Freeze the Mug
Put the Dash My Mug bowl in your freezer for at least 24 hours. Keep it upright so it freezes evenly. Your freezer should be at 0°F or colder.
Step 2 | Mix the Base
In a small bowl or liquid measuring cup, pour in 1/2 cup of unsweetened almond milk. Add 2 tablespoons of sugar and whisk until the sugar dissolves completely. This takes about a minute.
Step 3 | Add Protein Powder
Add 1 scoop of vanilla protein powder to the milk. Whisk or blend until it’s smooth with no lumps. A blender makes this super quick, but a whisk works fine too.
Step 4 | Stir in Cream and Flavor
Pour in 1/4 cup of heavy cream, 1/2 teaspoon of vanilla extract, and a pinch of salt. Stir everything together until it’s well mixed. The mixture should look smooth and a little thick.
Step 5 | Set Up the Machine
Take the frozen mug out of the freezer and place it on a flat surface. Attach the motor to the lid, then click the paddle into the motor’s base. Lock the lid onto the mug by aligning the pins and twisting clockwise.
Step 6 | Start Churning
Plug in the ice cream maker and turn it on. The paddle will start spinning. Slowly pour your mixture through the pouring chute while the machine is running.
Step 7 | Add Mix-Ins (Optional)
If you want extras like chocolate chips or fruit, drop them through the chute during the last 5 minutes of churning. This mixes them in evenly.
Step 8 | Churn Until Done
Let the machine run for 15-20 minutes until the ice cream looks like soft-serve. Check it around 15 minutes to see if it’s thick enough for you.
Step 9 | Stop and Serve
Turn off the machine and unlock the lid by twisting counterclockwise. Scoop the ice cream out or eat it right from the mug!
Nutrition Information:
Serving Size: 1Amount Per Serving: Calories: 290Total Fat: 19gSaturated Fat: 11gCholesterol: 60mgSodium: 150mgCarbohydrates: 12gSugar: 10gProtein: 21g
Final Words
This Dash My Mug Protein Ice Cream Recipe is my go-to for a quick, healthy dessert. It’s creamy, easy to make, and so fun to customize.
You’ll love how simple it is to whip up in your Dash My Mug Ice Cream Maker. Try it out, add your favorite toppings, and enjoy a guilt-free treat. Share your creations with me—I can’t wait to hear how it turns out!