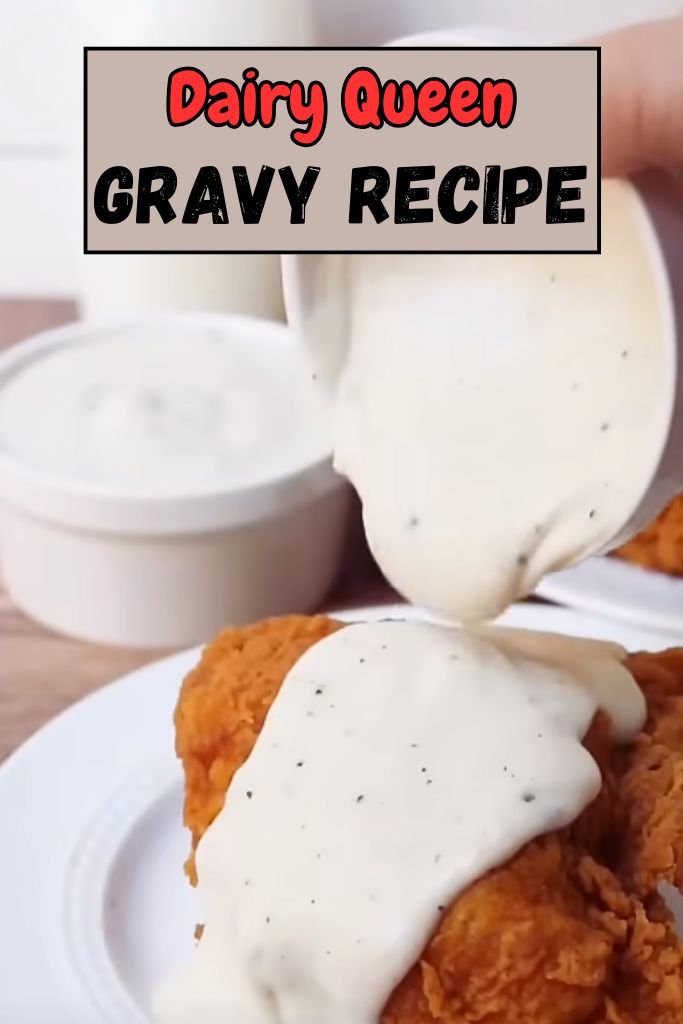
Dairy Queen Gravy Recipe
You know, there’s something about the warm, creamy gravy from Dairy Queen that just hits different. It takes me back to slow mornings and simple comfort food that fills your belly and heart.
I remember craving that smooth and peppery gravy they serve with their chicken strip baskets—it’s thick, full of flavor, and has that homemade taste I just couldn’t forget.
That’s why I wanted to share this Dairy Queen Gravy Recipe with you. I made it right in my own kitchen with just a few simple things I already had at home.
It’s easy, quick, and you don’t need to be a pro in the kitchen to get it right. If you’re someone who loves a good, cozy gravy without the fuss, this one’s for you.
Let’s get started on making this warm bowl of goodness, right from your own stove.
Why You’ll Love This Dish…
There’s just something comforting about this gravy. It’s smooth, creamy, and loaded with flavor. I like how it brings back memories of eating Dairy Queen meals during lazy Sundays or quick lunch stops.
But honestly? I think this homemade version tastes even better because I get to control what goes in it.
The rich flavor comes from bacon grease, which gives the gravy that deep, smoky base you don’t find in many fast-food places.
The pepper gives it just the right kick—nothing too spicy, just enough to warm your tongue.
And the best part? It’s so easy. You only need five main ingredients and one saucepan. That’s it.
Dairy Queen Gravy Ingredients
Here’s what you’ll need:
- Bacon Grease (¼ Cup): This is what gives the gravy its strong, smoky flavor. After cooking bacon, just save the grease. You can also use grease you’ve saved in the fridge. If you don’t have bacon grease, butter will work, but the taste won’t be quite the same.
- All-Purpose Flour (¼ Cup): This is your thickener. It helps the gravy hold together and gives it that smooth, creamy feel. Make sure to add it slowly and whisk it well to avoid lumps.
- Whole Milk (2 Cups): You want whole milk here. The fat makes the gravy rich and creamy. Don’t use low-fat or skim milk—it just won’t taste right.
- Salt (½ Teaspoon): Salt brings all the flavors together. This amount is enough to enhance the gravy without making it too salty.
- Black Pepper (½ Teaspoon): This gives the gravy its signature kick. It’s not too spicy—just enough to keep things interesting. If you like more spice, feel free to add a little extra.
Helpful Swaps
If you don’t have bacon grease, here are some swaps:
- Butter: Still rich and smooth, though you’ll miss the smoky flavor.
- Sausage Grease: Adds a savory taste that works well for breakfast-style gravy.
- Plant-Based Butter or Oil: Works for dairy-free folks, though the taste will change a bit.
For the milk:
- 2% Milk: Still works, but the texture won’t be quite as creamy.
- Oat or Soy Milk: If you’re dairy-free, these are better than almond milk for getting the right thickness.
Kitchen Appliances Needed
You don’t need a lot to make this:
- Medium Saucepan: For cooking the gravy.
- Whisk: A must-have to keep the gravy smooth.
- Measuring Cups and Spoons: To measure out your ingredients.
How to Make Dairy Queen Gravy Recipe
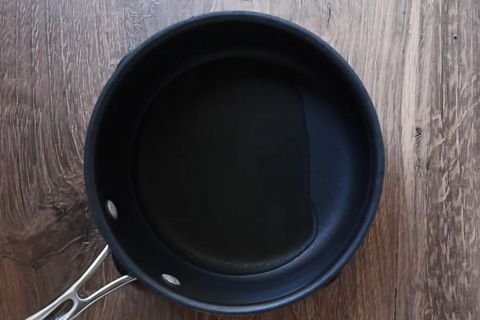
Step 1 | Heat the Bacon Grease
Place a medium saucepan on medium-low heat. Add ¼ cup of bacon grease and let it warm up. It should be melted but not smoking.
Step 2 | Add the Flour
Slowly add ¼ cup of flour, about a tablespoon at a time, while whisking non-stop. This helps the flour blend smoothly with the grease. Keep whisking until it looks like a smooth paste.
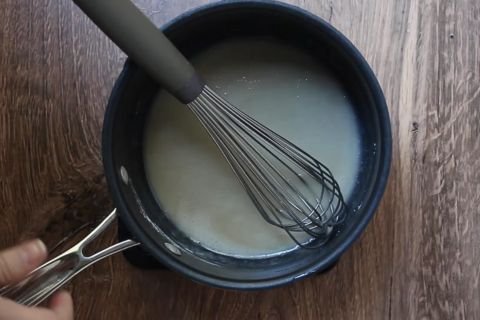
Step 3 | Pour in the Milk
While whisking quickly, slowly pour in 2 cups of whole milk. It’s super important to pour slowly and whisk fast to avoid any lumps.
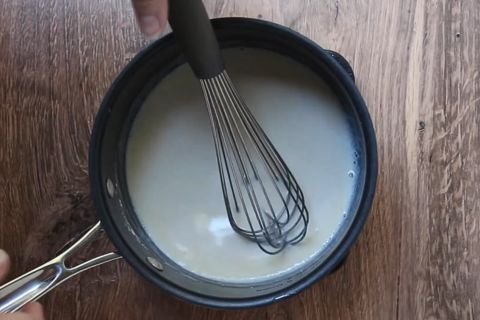
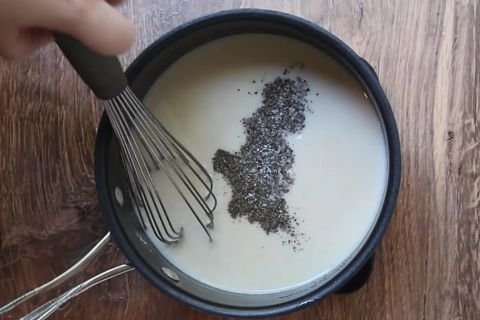
Step 4 | Season It
Add ½ teaspoon of salt and ½ teaspoon of pepper. Keep whisking until everything is well mixed.
Step 5 | Cook Until Thickened
Let the gravy cook on medium heat. Keep whisking every few seconds. In about 5 minutes, it will start to thicken. You want it right before it starts to simmer. If it starts bubbling a lot, turn the heat down a little.

Step 6 | Let it Cool a Bit
The gravy will thicken even more as it cools slightly. If it gets too thick, you can stir in a splash of milk to thin it back out.

Recipe Perfection Tips
- Temperature Control: Keep your heat at medium or medium-low throughout the process. High heat can cause the milk to curdle or the flour to burn, giving your gravy a bad taste.
- Whisk Constantly: When adding milk and during the thickening process, whisk frequently. This prevents sticking and keeps the texture smooth.
- Room Temperature Ingredients: Let your milk come to room temperature before using it. Cold milk added to hot roux can cause lumps and uneven cooking.
- Taste as You Go: Start with the recommended seasonings, but taste and adjust. Some people like more pepper, others prefer extra salt.
- Strain if Needed: If you end up with lumps despite your best efforts, pour the gravy through a fine mesh strainer to remove them.
- Consistency Check: The gravy should coat a spoon but still pour easily. It will thicken more as it cools, so err on the side of slightly thin.
How to Serve This Dairy Queen Gravy
This gravy isn’t just for fries (though yes, pour it over crispy DQ-style fries!). I love it on mashed potatoes, biscuits, or chicken tenders. My favorite? Poutine! Layer fries, cheese curds, and hot gravy.
Breakfast works too—smother your eggs or hash browns. For a hearty dinner, try it over meatloaf or roasted chicken.
It’s creamy, salty, and just spicy enough to wake up any dish. Keep it warm in a thermos for parties—it’s always the first thing gone!
Make Ahead & Storage Tips
You can definitely make this gravy ahead of time. After it cools, pour it into an airtight container and store it in the fridge for up to 3 days.
It may thicken more as it chills, but you can fix that by warming it up slowly and adding a splash of milk while stirring.
Freezing: Yes, it freezes too! Put it in a freezer-safe container and freeze for up to a month.
When you’re ready, thaw it in the fridge overnight, then reheat on the stove over low heat, whisking in a bit of milk to bring it back to life.
Dairy Queen Gravy Recipe FAQs
1. Can I double the recipe?
Absolutely. Just make sure to use a larger saucepan and double each ingredient exactly. Whisk well and keep an eye on the heat so nothing burns.
2. What if my gravy is lumpy?
That usually means the flour clumped up. Next time, whisk constantly and add your milk slowly. If you already have lumps, try using a hand blender to smooth it out or strain it through a fine sieve.
3. Can I use low-fat milk?
You can, but the gravy won’t be as creamy. Whole milk gives the best texture. If you use 2% or lower, add a tablespoon of butter to make it richer.
4. Can I make it gluten-free?
Yes, swap the all-purpose flour with a gluten-free flour blend that’s good for thickening, like a rice-based one. The rest of the ingredients should be naturally gluten-free.
5. What should I do if my gravy is too thin?
Keep cooking it a bit longer—it may just need more time to thicken. If it’s still too thin, mix 1 tablespoon flour with 2 tablespoons milk, then whisk it into the gravy and cook a few more minutes.
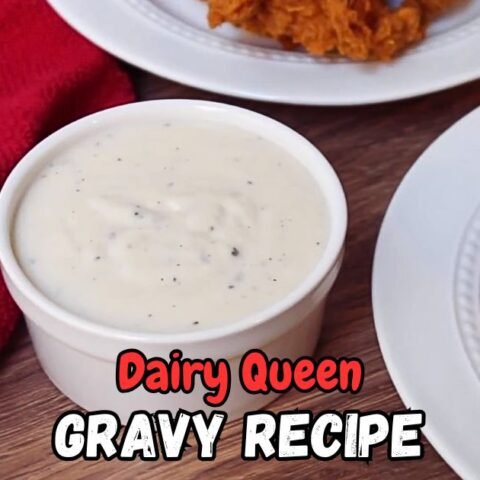
Dairy Queen Gravy Recipe
Make this creamy Dairy Queen Gravy Recipe at home in just 20 minutes! This quick, peppery gravy is perfect for chicken, biscuits, and cozy comfort food cravings.
Ingredients
- ¼ cup bacon grease (or butter as a substitute)
- ¼ cup all-purpose flour
- 2 cups whole milk (room temperature recommended)
- ½ teaspoon salt
- ½ teaspoon black pepper (adjust to taste)
Instructions
Step 1 | Heat the Bacon Grease
Place a medium saucepan on medium-low heat. Add ¼ cup of bacon grease and let it warm up. It should be melted but not smoking.
Step 2 | Add the Flour
Slowly add ¼ cup of flour, about a tablespoon at a time, while whisking non-stop. This helps the flour blend smoothly with the grease. Keep whisking until it looks like a smooth paste.
Step 3 | Pour in the Milk
While whisking quickly, slowly pour in 2 cups of whole milk. It’s super important to pour slowly and whisk fast to avoid any lumps.
Step 4 | Season It
Add ½ teaspoon of salt and ½ teaspoon of pepper. Keep whisking until everything is well mixed.
Step 5 | Cook Until Thickened
Let the gravy cook on medium heat. Keep whisking every few seconds. In about 5 minutes, it will start to thicken. You want it right before it starts to simmer. If it starts bubbling a lot, turn the heat down a little.
Step 6 | Let it Cool a Bit
The gravy will thicken even more as it cools slightly. If it gets too thick, you can stir in a splash of milk to thin it back out.
Nutrition Information:
Serving Size: 1Amount Per Serving: Calories: 185Total Fat: 15gSaturated Fat: 6gCholesterol: 30mgSodium: 390mgCarbohydrates: 9gSugar: 5gProtein: 4g
Final Words
This Dairy Queen Gravy Recipe is one of those simple dishes that brings a whole lot of comfort.
With just a few ingredients and easy steps, you get that creamy, peppery gravy we all know and love—right at home. Give it a try. You’ll see just how good homemade can be.
Did you make this recipe? Please leave a ⭐ rating and review!