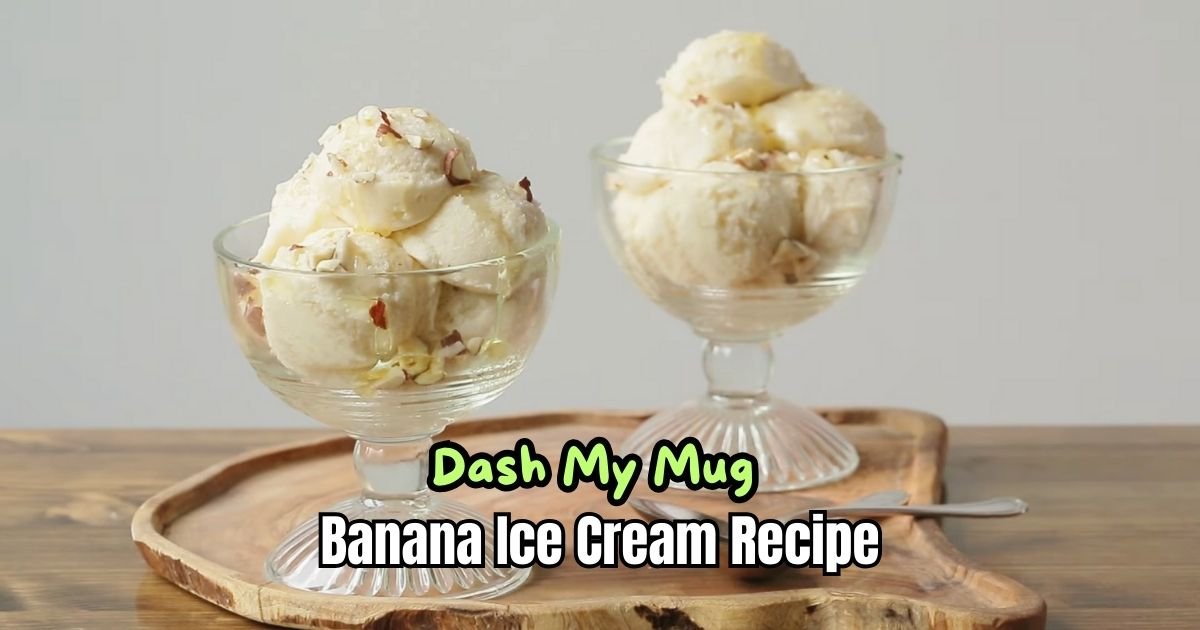
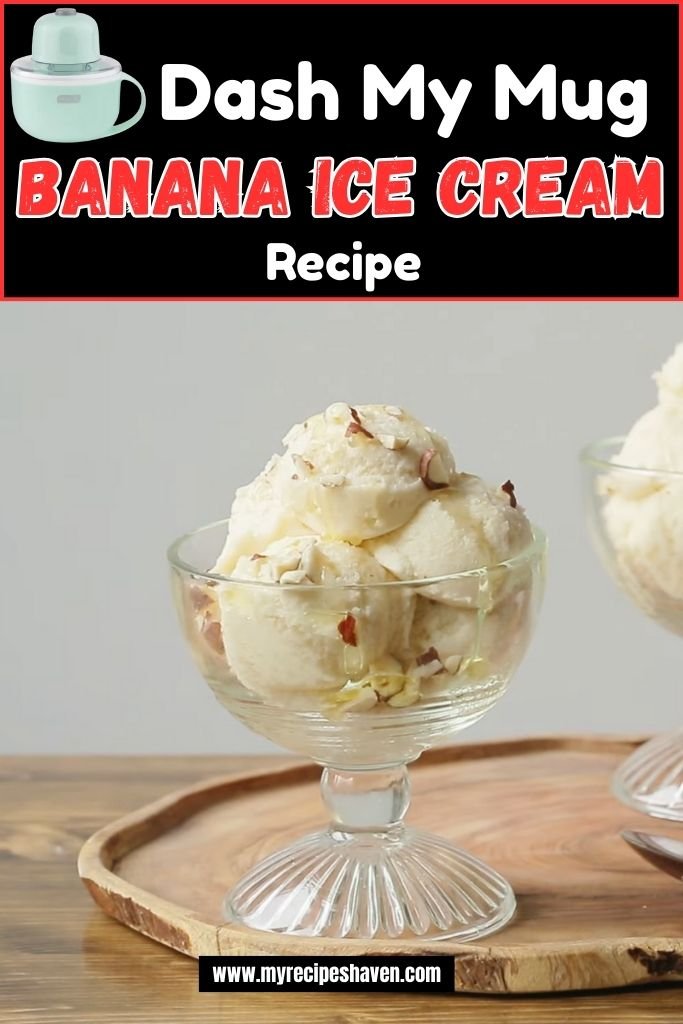
Dash My Mug Banana Ice Cream Recipe
I love finding simple ways to make sweet treats at home, and that’s exactly why I started making the Dash My Mug Banana Ice Cream Recipe.
One lazy afternoon, I had a few very ripe bananas sitting on my counter, and I didn’t want them to go to waste.
I remembered my little Dash My Mug ice cream maker tucked in the freezer and thought, “Why not?” In just a few minutes, I had creamy, dreamy banana ice cream ready to enjoy right from my mug.
What I love most is how easy it is—no big machines, no mess, and it tastes so fresh and natural.
Every spoonful is soft, sweet, and perfectly chilled. If you love quick, homemade desserts, this recipe is going to feel like a tiny bit of magic in your kitchen.
What Does Dash My Mug Banana Ice Cream Taste Like
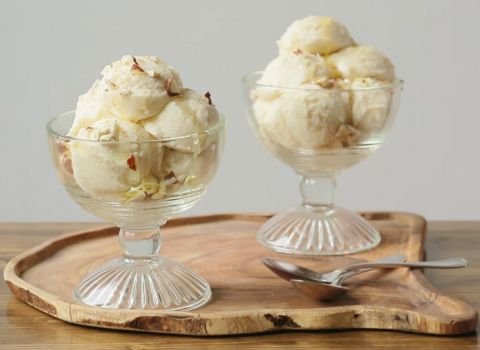
When I first spooned a bite of this Dash My Mug Banana Ice Cream, I was amazed at how smooth and creamy it was.
The banana flavor is bright but not too strong, just naturally sweet. You can taste the freshness of the fruit, and it melts softly in your mouth. If you like bananas, this will feel like a treat made just for you.
You don’t get that icy, hard texture you sometimes find in store-bought ice cream. It’s soft, creamy, and just sweet enough to satisfy your dessert craving.
The first time I tried it, I couldn’t believe it came straight from my freezer mug. You’ll love how simple it is to enjoy homemade ice cream without waiting hours or using a big machine.
Key Ingredients in Dash My Mug Banana Ice Cream
Here’s what you need to make this tasty treat. I’ve included why each ingredient matters and some swaps if you don’t have them.
- Ripe Bananas (2-3, mashed): Bananas are the star! They give the ice cream its sweet, fruity flavor and creamy texture. Use ripe ones with brown spots—they’re sweeter and easier to mash. If you don’t have bananas, try ripe mangoes for a different fruity vibe, but it won’t be quite the same.
- Heavy Cream (½ cup): This makes the ice cream rich and smooth. It gives that classic ice cream feel. If you’re out of heavy cream, you can use coconut cream for a dairy-free option. It’ll taste a bit tropical but still yummy.
- Granulated Sugar (2 tablespoons): Sugar adds sweetness to balance the bananas. You don’t need much since bananas are naturally sweet. You can swap sugar for honey or maple syrup, but use a bit less since they’re sweeter.
- Vanilla Extract (½ teaspoon): This adds a warm, cozy flavor that makes the bananas pop. If you don’t have vanilla, you can skip it or use a pinch of cinnamon for a different twist.
- Non-Dairy Milk (¼ cup, optional): I add a splash of almond milk to make the mixture easier to pour. You can use any milk—regular, oat, or soy work fine. If you skip it, the ice cream might be thicker, which is okay too.
Required Kitchen Tools
Here’s what you’ll need to make this ice cream:
- Dash My Mug Ice Cream Maker: The main tool for churning the ice cream.
- Mixing Bowl: To mash bananas and mix ingredients.
- Fork or Potato Masher: For mashing bananas until smooth.
- Measuring Cups and Spoons: To get the right amounts of cream, sugar, and vanilla.
- Whisk or Spoon: To stir everything together.
- Spatula: To scrape the mixture into the ice cream maker.
- Freezer-Safe Container (optional): For storing leftovers or firming up the ice cream.
How To Make Dash My Mug Banana Ice Cream
Making this ice cream is so easy, even if you’ve never made dessert before. I’ll walk you through each step so you can follow along and get a perfect bowl of ice cream.
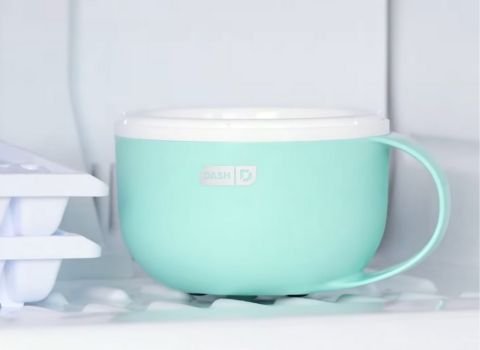
Step 1 | Freeze the Mug
Put the Mug with the built-in Cooling Bowl in your freezer for 24 hours. Keep it upright, and make sure your freezer is at 0°F or colder. I usually pop mine in the night before so it’s ready when I am.
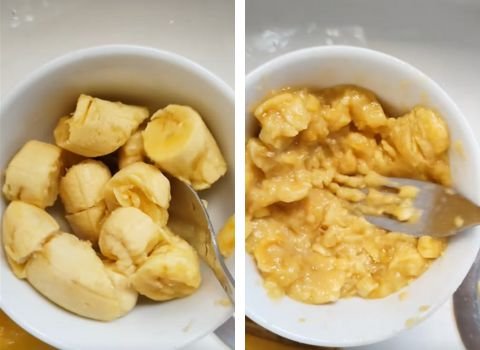
Step 2 | Mash the Bananas
Grab 2-3 ripe bananas. Peel them and put them in a mixing bowl. Use a fork or potato masher to mash them until they’re smooth. I like to mash until there are no big chunks—it makes the ice cream super creamy.
Step 3 | Mix the Ingredients
Add ½ cup heavy cream, 2 tablespoons sugar, and ½ teaspoon vanilla extract to the mashed bananas. If you’re using non-dairy milk, add ¼ cup now. Stir everything with a whisk or spoon until it’s smooth. I mix for about a minute to make sure the sugar dissolves.
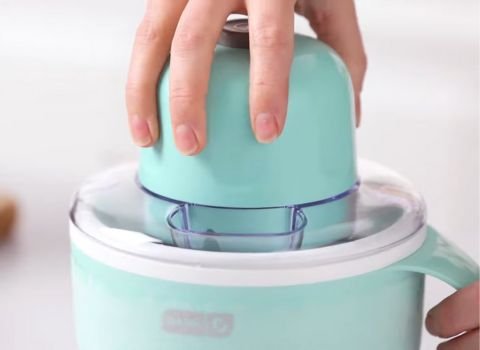
Step 4 | Set Up the Ice Cream Maker
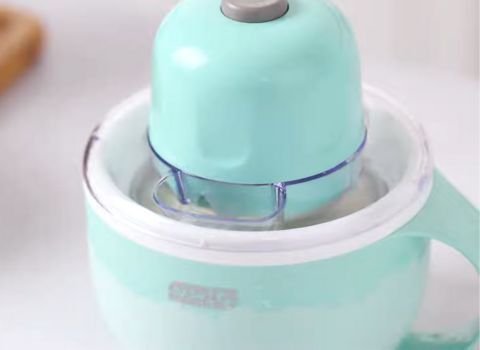
Take the Mug out of the freezer and place it on a flat surface. Attach the Motor to the Cover, then snap the Paddle into the Motor. Lock the Cover onto the Mug by lining up the pins and twisting clockwise. Plug it in and turn on the Power Switch. The Paddle will start spinning.
Step 5 | Churn the Ice Cream
While the Paddle is spinning, pour your banana mixture through the Pouring Chute. Let it churn for 20-25 minutes. I check it around 20 minutes to see if it’s thick and creamy like soft serve. If you want it firmer, churn a bit longer.
Step 6 | Add Mix-Ins (Optional)
If you want to get creative, toss in some chocolate chips or crushed nuts through the Chute in the last 5 minutes. I sometimes add a few chocolate chips for a fun crunch.
Step 7 | Finish and Serve
When the ice cream looks ready, turn off the machine and unlock the Cover by twisting counterclockwise. The Paddle stays in the ice cream to keep things tidy. Scoop it out with a spoon and enjoy right from the Mug! If you want it harder, put it in a freezer-safe container and freeze for 2-4 hours.
Chef’s Note + Tips
Here are some quick tips to make your ice cream even better:
- Use ripe bananas for the best flavor—they’re sweeter and softer.
- Don’t overfill the Mug; stick to 1 cup of mixture to avoid spills.
- Clean the Mug right after use with warm, soapy water—it’s easier.
- Try adding a pinch of cinnamon for a warm twist.
- If the mixture is too thick to pour, add a tiny bit more milk.
- Freeze the Mug right after cleaning so it’s ready next time.
Make Ahead & Storage
You can prep the banana mixture a day ahead. Mix it, cover it, and keep it in the fridge. When you’re ready, just pour it into the chilled Mug and churn.
Store leftover ice cream in a freezer-safe container with a tight lid. It stays good for about a week.
If it gets too hard in the freezer, let it sit out for 5-10 minutes before scooping.
If you see ice crystals or a weird smell, toss it—it’s gone bad.
How To Serve Dash My Mug Banana Ice Cream
This ice cream is so good, you can eat it straight from the Mug! I love it as a quick treat on a warm day.
You can scoop it into a bowl and top it with chocolate syrup or whipped cream for extra fun. It’s great with sliced strawberries or a sprinkle of nuts.
Serve it in a cone for a classic vibe. If you’re sharing, put it in small bowls—it looks cute and feels special. Enjoy it fresh for the best creamy texture!
Dash My Mug Banana Ice Cream Recipe FAQs
1. Can I use frozen bananas for this recipe?
Yes, you can! Frozen bananas work great and make the ice cream even colder. Thaw them slightly so they’re easier to mash. I peel and freeze bananas in a bag when they’re ripe, then use them for this recipe. It saves time and gives a super smooth texture. Just make sure they’re soft enough to blend with the other ingredients.
2. Do I have to use heavy cream?
No, you don’t have to use heavy cream. I love it for the rich taste, but you can swap it with coconut cream for a dairy-free version. Half-and-half works too, but it’ll be less creamy. I’ve tried coconut milk, and it adds a nice tropical flavor. Just whisk it well to mix with the bananas.
3. How long does it take to churn the ice cream?
It takes about 20-25 minutes to churn in the Dash My Mug Ice Cream Maker. I usually check at 20 minutes to see if it’s soft-serve consistency. If you want it firmer, let it go a bit longer. It depends on how cold your Mug is and the room’s temperature. Don’t rush it—let it get nice and thick!
4. Can I make this without sugar?
You can skip the sugar if your bananas are super ripe—they’re sweet enough on their own. I’ve made it without sugar, and it still tastes great. You could also use a bit of honey or maple syrup for a natural sweetener. Just add a tiny amount and taste the mixture before churning to make sure it’s sweet enough for you.
5. What if my ice cream is too soft after churning?
If it’s too soft, pop it into a freezer-safe container and freeze for 2-4 hours. I do this when I want a scoopable texture. Cover it tightly to avoid ice crystals. If it’s still soft, your Mug might not have been cold enough. Make sure it’s frozen for at least 24 hours at 0°F before you start.
6. How do I clean the Dash My Mug Ice Cream Maker?
Cleaning is easy! I wash the Mug, Paddle, and Cover with warm, soapy water right after using them. Don’t put them in the dishwasher—it could damage the parts. Dry everything well before storing. If there’s sticky ice cream left, soak the Mug for a few minutes. Pop the Mug back in the freezer so it’s ready for next time.
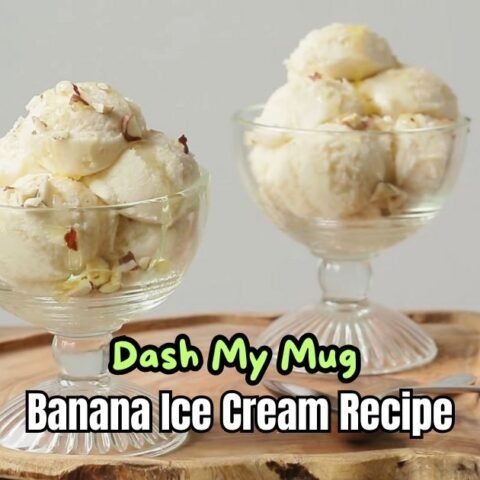
Dash My Mug Banana Ice Cream Recipe
Quick 35-min Dash My Mug Banana Ice Cream recipe with ripe bananas & cream—easy, creamy, and perfect for a sweet homemade dessert.
Ingredients
- Ripe Bananas – 2 to 3, mashed
- Heavy Cream – ½ cup
- Granulated Sugar – 2 tablespoons
- Vanilla Extract – ½ teaspoon
- Non-Dairy Milk (optional) – ¼ cup
Instructions
Step 1 | Freeze the Mug
Put the Mug with the built-in Cooling Bowl in your freezer for 24 hours. Keep it upright, and make sure your freezer is at 0°F or colder. I usually pop mine in the night before so it’s ready when I am.
Step 2 | Mash the Bananas
Grab 2-3 ripe bananas. Peel them and put them in a mixing bowl. Use a fork or potato masher to mash them until they’re smooth. I like to mash until there are no big chunks—it makes the ice cream super creamy.
Step 3 | Mix the Ingredients
Add ½ cup heavy cream, 2 tablespoons sugar, and ½ teaspoon vanilla extract to the mashed bananas. If you’re using non-dairy milk, add ¼ cup now. Stir everything with a whisk or spoon until it’s smooth. I mix for about a minute to make sure the sugar dissolves.
Step 4 | Set Up the Ice Cream Maker
Take the Mug out of the freezer and place it on a flat surface. Attach the Motor to the Cover, then snap the Paddle into the Motor. Lock the Cover onto the Mug by lining up the pins and twisting clockwise. Plug it in and turn on the Power Switch. The Paddle will start spinning.
Step 5 | Churn the Ice Cream
While the Paddle is spinning, pour your banana mixture through the Pouring Chute. Let it churn for 20-25 minutes. I check it around 20 minutes to see if it’s thick and creamy like soft serve. If you want it firmer, churn a bit longer.
Step 6 | Add Mix-Ins (Optional)
If you want to get creative, toss in some chocolate chips or crushed nuts through the Chute in the last 5 minutes. I sometimes add a few chocolate chips for a fun crunch.
Step 7 | Finish and Serve
When the ice cream looks ready, turn off the machine and unlock the Cover by twisting counterclockwise. The Paddle stays in the ice cream to keep things tidy. Scoop it out with a spoon and enjoy right from the Mug! If you want it harder, put it in a freezer-safe container and freeze for 2-4 hours.
Nutrition Information:
Serving Size: 1Amount Per Serving: Calories: 180Total Fat: 8gSaturated Fat: 5gCholesterol: 30mgSodium: 15mgCarbohydrates: 27gFiber: 3gSugar: 18gProtein: 2g
Final Words
I hope you love making this Dash My Mug Banana Ice Cream Recipe as much as I do! It’s such a fun way to turn ripe bananas into a cool, creamy treat. Grab your Dash My Mug Ice Cream Maker, try it out, and enjoy every sweet bite!