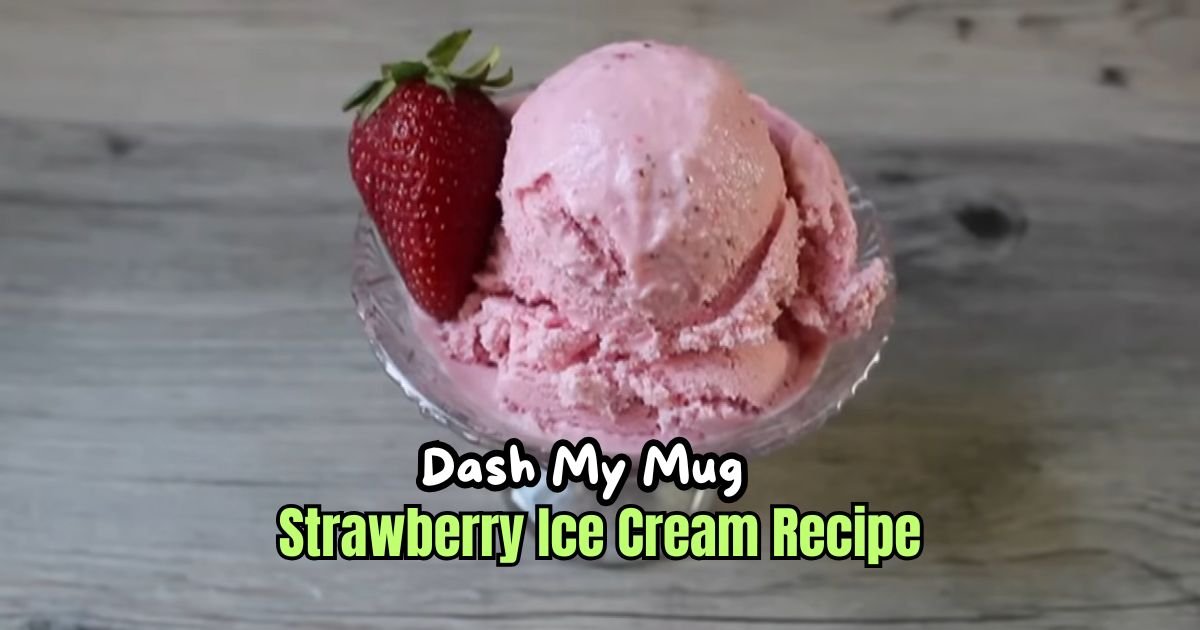
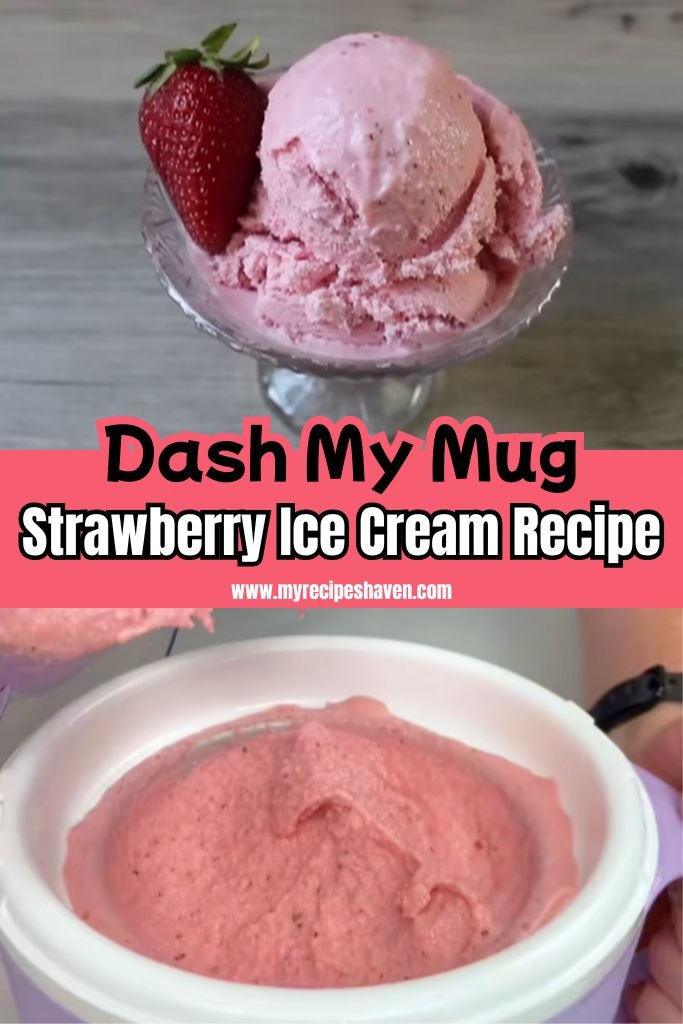
Dash My Mug Strawberry Ice Cream Recipe
Ever have one of those warm afternoons when you just need something sweet and cold—but fast? That’s exactly how I felt last weekend.
I opened the freezer, saw my Dash My Mug ice cream maker waiting, and suddenly had a craving for something fruity.
That’s how this Dash My Mug Strawberry Ice Cream Recipe became my go-to treat. It’s simple, fun, and doesn’t need a ton of stuff to make.
Just a few fresh strawberries, some cream, a little sugar, and boom—you’re on your way to creamy, dreamy ice cream in your own mug.
I love how easy it is. No fancy machines. No hard steps. Just me, my little Dash mug, and a spoon. If you like sweet strawberries and soft, cold ice cream, you’re going to love this recipe just like I do. So, let’s get started and make something sweet today!
What Does Dash My Mug Strawberry Ice Cream Taste Like?
This Dash My Mug Strawberry Ice Cream is like a burst of summer in your mouth! It’s creamy, smooth, and packed with sweet strawberry flavor.
You’ll taste the fresh berries in every bite, with just the right amount of sweetness. It’s not too heavy, so you feel refreshed after eating it.
The soft-serve texture is perfect for a quick treat, and you can make it even better with fun add-ins like chocolate chips. Trust me, you’ll love how it melts on your tongue!
Key Ingredients in Dash My Mug Strawberry Ice Cream
Here’s what you need to make this tasty ice cream. I’ll explain each ingredient and share some swaps if you don’t have them on hand.
- Fresh Strawberries (1 cup, sliced): Fresh strawberries give this ice cream its bright, fruity taste. They’re the star of the show! I slice them thin so they blend easily. If you don’t have fresh strawberries, frozen ones work too. Just thaw them first and drain any extra liquid to avoid a watery mix.
- Sugar (1/4 cup): Sugar adds sweetness and helps the strawberries release their juices. You can use monkfruit sweetener if you want a sugar-free option. It works just as well and keeps the flavor sweet.
- Whole Milk (1/2 cup): Milk makes the ice cream smooth and creamy. I use whole milk for richness, but 2% milk can work if you want it lighter. Plant-based milk like almond or oat milk is a good substitute for a dairy-free version, but the texture might be a bit less creamy.
- Heavy Cream (1/2 cup): This gives the ice cream its rich, velvety feel. Heavy cream is key for that soft-serve texture. If you’re out of heavy cream, half-and-half can work, but it won’t be as thick. For a vegan option, try coconut cream—it’s rich and adds a slight coconut flavor.
- Vanilla Extract (1/2 tsp): A splash of vanilla makes the strawberry flavor pop. It adds a warm, sweet note. If you don’t have vanilla extract, you can skip it, but it does make the ice cream taste extra special.
Required Kitchen Tools
Here’s what you’ll need to make this Dash My Mug Strawberry Ice Cream Recipe:
- Dash My Mug Ice Cream Maker (with mug, paddle, and lid)
- Small blender or immersion blender
- Measuring cups and spoons
- Small mixing bowl or liquid measuring cup
- Spatula or spoon for mixing
- Knife for slicing strawberries
- Cutting board
- Optional: Spouted measuring cup for easy pouring
How To Make Dash My Mug Strawberry Ice Cream
Making this ice cream is so easy, even if you’ve never made ice cream before. I’ll guide you through each step so you can follow along and have fun. Let’s get started!
Step 1 | Freeze the Mug
Take the mug part of your Dash My Mug Ice Cream Maker and put it in the freezer. It needs to stay there for at least 24 hours to get super cold. Keep it upright so it freezes evenly. This step is important because it helps the ice cream set properly.
Step 2 | Slice the Strawberries
Grab your fresh strawberries and slice them into small pieces. You need about 1 cup of sliced berries. If you’re using frozen strawberries, thaw them first and pat them dry with a paper towel.
Step 3 | Macerate the Berries
Put the sliced strawberries in a small bowl with 1/4 cup of sugar. Stir them together and let them sit for 15 minutes. Stir every few minutes. The sugar pulls out the strawberry juices, making a sweet, syrupy mix.
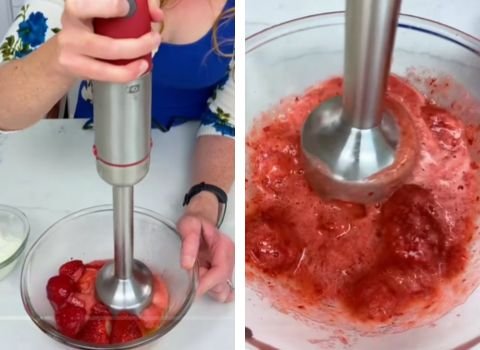
Step 4 | Blend the Base
Pour the strawberries and their juices into a blender with 1/2 cup of whole milk. Blend until it’s smooth. You can use an immersion blender if that’s easier. The mix should look pink and creamy.
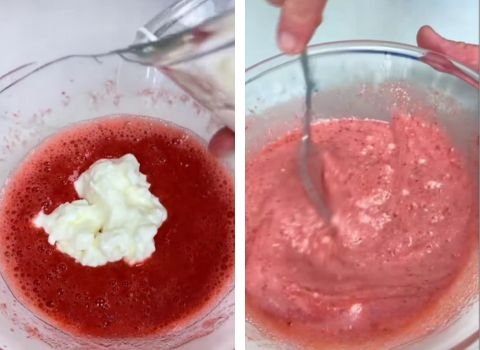
Step 5 | Add the Cream
Pour the blended mix into a bowl or a spouted measuring cup. Stir in 1/2 cup of heavy cream and 1/2 teaspoon of vanilla extract. Mix until everything is combined. Your ice cream base is ready!
Step 6 | Set Up the Ice Cream Maker
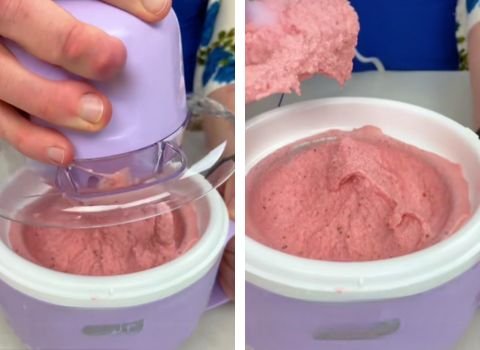
Take the frozen mug out of the freezer and place it on a flat surface. Attach the paddle to the lid, then lock the lid onto the mug. Plug in the machine and press the power button to start the paddle spinning.
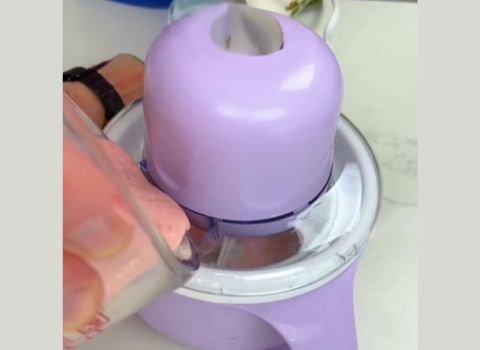
Step 7 | Pour the Mixture
While the paddle is spinning, slowly pour your strawberry mixture through the pouring chute in the lid. This helps the ice cream churn evenly.
Step 8 | Churn the Ice Cream
Let the machine churn for about 20 minutes. You’ll see the mixture turn into soft-serve ice cream. If you want to add extras like chocolate chips, drop them through the chute in the last 5 minutes of churning.
Step 9 | Check the Texture
After 20 minutes, check if the ice cream is soft-serve consistency. If it’s not thick enough, churn for 5 more minutes. When it’s ready, turn off the machine and unlock the lid.
Step 10 | Serve or Freeze
Scoop the ice cream right from the mug for a soft-serve treat. If you want it firmer, pop the mug in the freezer for 1-2 hours. Then scoop and enjoy!
Chef’s Note + Tips
Here are some quick tips to make your Dash My Mug Strawberry Ice Cream even better:
- Chill Ingredients: Put your milk and cream in the fridge before using them. Cold ingredients help the ice cream freeze faster.
- Taste the Mix: After blending, taste your strawberry mixture. If it’s not sweet enough, add a tiny bit more sugar.
- Don’t Overfill: Keep the mixture under 1 cup total. Too much liquid can spill or not freeze well.
- Clean the Mug: Wash the mug right after using it to avoid sticky residue. It’s easier to clean when it’s still a bit warm.
- Try Mix-Ins: Add fun stuff like crushed cookies or sprinkles in the last few minutes of churning for extra flavor.
Make Ahead & Storage
You can prep the strawberry mixture a day ahead. Just blend it, mix in the cream, and store it in the fridge in a covered container. When you’re ready, churn it in the Dash My Mug.
For storage, scoop any leftover ice cream into an airtight container. Keep it in the freezer for up to 1 week. If it gets too hard, let it sit at room temperature for 5-10 minutes before scooping.
If the ice cream smells off, looks discolored, or has ice crystals all over, it’s probably bad. Toss it to be safe.
Always cover the container tightly to avoid freezer burn. I like using a small plastic container to keep the flavor fresh.
How To Serve Dash My Mug Strawberry Ice Cream
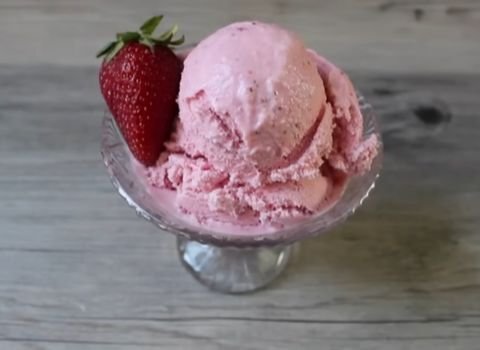
Serving this Dash My Mug Strawberry Ice Cream is so much fun! For a soft-serve treat, eat it right from the mug after churning.
It’s creamy and perfect for a quick dessert. If you like it firmer, freeze it for 1-2 hours, then scoop it into a bowl or cone.
I love adding a few fresh strawberry slices on top for extra color. You can also sprinkle on some chocolate chips or whipped cream for a fancy touch. Serve it at a summer picnic or after dinner—it’s a hit with kids and adults!
Dash My Mug Strawberry Ice Cream Recipe FAQs
1. Can I use frozen strawberries instead of fresh ones?
Yes, you can use frozen strawberries! Thaw them completely first and pat them dry to remove extra water. This keeps the ice cream from getting too watery.
Blend them with the sugar just like fresh berries. The flavor will still be yummy, but fresh strawberries give a slightly brighter taste. Adjust the sugar if your frozen berries aren’t very sweet.
2. What if I don’t have a Dash My Mug Ice Cream Maker?
No Dash My Mug? You can try a different ice cream maker, but double-check the capacity. This recipe makes about 1 cup of liquid, so it works for small machines.
If you don’t have any machine, pour the mixture into a shallow dish, freeze it, and stir every 30 minutes until it’s creamy. It won’t be as smooth, but it still works!
3. How do I know if my ice cream mixture is too thin?
If your mixture looks too runny after blending, it might have too much liquid from the strawberries. Add a bit more cream to thicken it.
The mix should be smooth and slightly thick before churning. If it’s still thin after churning, freeze it for an extra hour to firm up. Don’t add more than 1 cup total to the mug.
4. How long should I churn the ice cream?
Churn for about 20 minutes for soft-serve texture. If it’s not thick enough, go for 25 minutes, but don’t over-churn, or it might get icy.
Check the consistency through the chute. Every machine is a bit different, so watch it closely the first time you make it to get the timing right.
5. What if my ice cream is too soft after churning?
If it’s too soft, pop the mug in the freezer for 1-2 hours. This firms it up to a scoopable texture. Don’t leave it too long, or it might get too hard.
If it’s super soft right after churning, make sure your mug was frozen for at least 24 hours before starting.

Dash My Mug Strawberry Ice Cream Recipe
Make fresh Dash My Mug Strawberry Ice Cream in just 40 mins active time! A fruity, creamy dessert packed with real strawberries and ready in minutes.
Ingredients
- Fresh Strawberries – 1 cup, sliced
- Sugar – 1/4 cup (or monkfruit sweetener as substitute)
- Whole Milk – 1/2 cup (or 2%, almond, or oat milk)
- Heavy Cream – 1/2 cup (or half-and-half or coconut cream)
- Vanilla Extract – 1/2 teaspoon
Instructions
Step 1 | Freeze the Mug
Take the mug part of your Dash My Mug Ice Cream Maker and put it in the freezer. It needs to stay there for at least 24 hours to get super cold. Keep it upright so it freezes evenly. This step is important because it helps the ice cream set properly.
Step 2 | Slice the Strawberries
Grab your fresh strawberries and slice them into small pieces. You need about 1 cup of sliced berries. If you’re using frozen strawberries, thaw them first and pat them dry with a paper towel.
Step 3 | Macerate the Berries
Put the sliced strawberries in a small bowl with 1/4 cup of sugar. Stir them together and let them sit for 15 minutes. Stir every few minutes. The sugar pulls out the strawberry juices, making a sweet, syrupy mix.
Step 4 | Blend the Base
Pour the strawberries and their juices into a blender with 1/2 cup of whole milk. Blend until it’s smooth. You can use an immersion blender if that’s easier. The mix should look pink and creamy.
Step 5 | Add the Cream
Pour the blended mix into a bowl or a spouted measuring cup. Stir in 1/2 cup of heavy cream and 1/2 teaspoon of vanilla extract. Mix until everything is combined. Your ice cream base is ready!
Step 6 | Set Up the Ice Cream Maker
Take the frozen mug out of the freezer and place it on a flat surface. Attach the paddle to the lid, then lock the lid onto the mug. Plug in the machine and press the power button to start the paddle spinning.
Step 7 | Pour the Mixture
While the paddle is spinning, slowly pour your strawberry mixture through the pouring chute in the lid. This helps the ice cream churn evenly.
Step 8 | Churn the Ice Cream
Let the machine churn for about 20 minutes. You’ll see the mixture turn into soft-serve ice cream. If you want to add extras like chocolate chips, drop them through the chute in the last 5 minutes of churning.
Step 9 | Check the Texture
After 20 minutes, check if the ice cream is soft-serve consistency. If it’s not thick enough, churn for 5 more minutes. When it’s ready, turn off the machine and unlock the lid.
Step 10 | Serve or Freeze
Scoop the ice cream right from the mug for a soft-serve treat. If you want it firmer, pop the mug in the freezer for 1-2 hours. Then scoop and enjoy!
Nutrition Information:
Serving Size: 1Amount Per Serving: Calories: 260Total Fat: 18gSaturated Fat: 11gCholesterol: 60mgSodium: 30mgCarbohydrates: 24gFiber: 1gSugar: 22gProtein: 3g
Final Words
This Dash My Mug Strawberry Ice Cream Recipe is my go-to for a quick, delicious treat. It’s so easy to make, and the fresh strawberry flavor is unbeatable.
Grab your Dash My Mug, try this recipe, and enjoy a creamy dessert in just 20 minutes. You’ll love every bite!