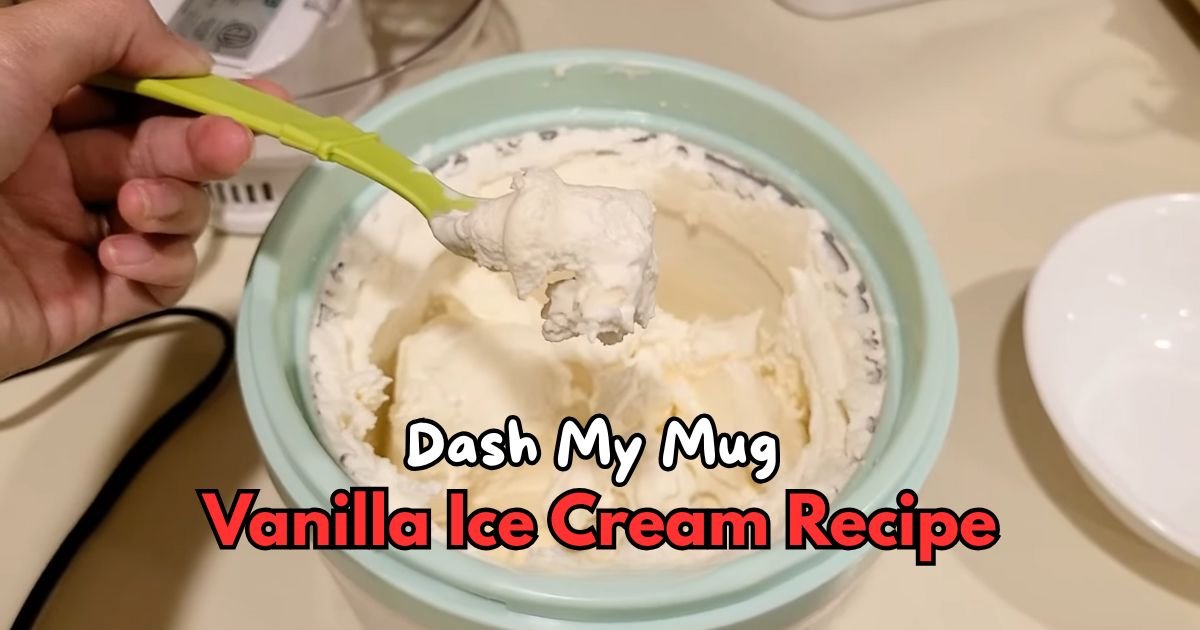
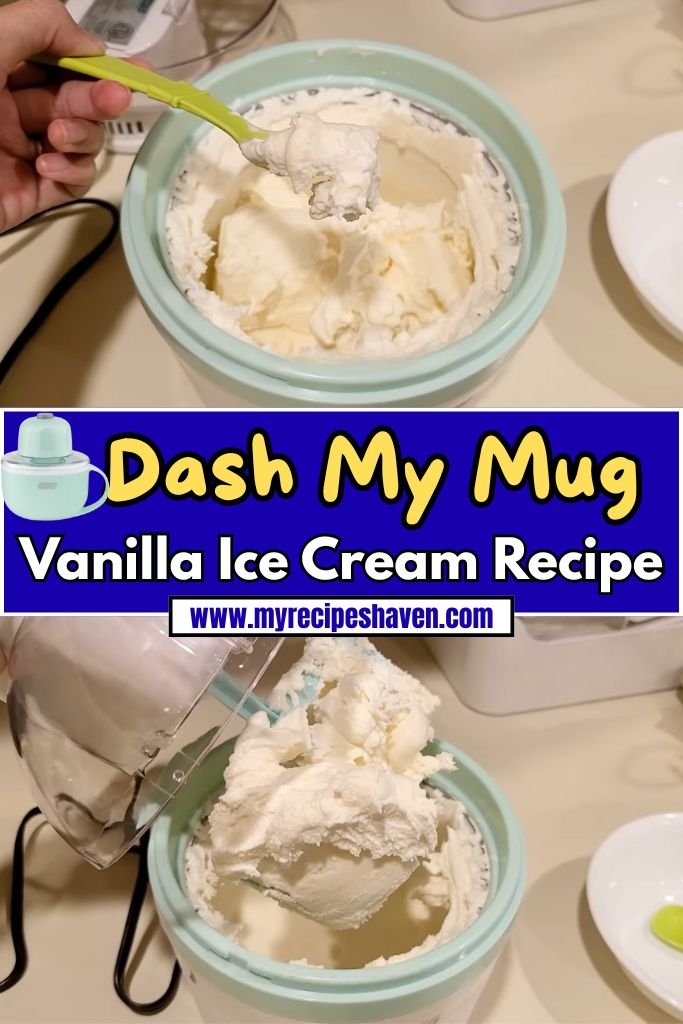
Dash My Mug Vanilla Ice Cream Recipe
Dash My Mug Vanilla Ice Cream Recipe changed my life in the sweetest way possible. Last summer, I was craving ice cream but didn’t want to drive to the store.
My friend told me about this small ice cream maker that sits right on my counter. I thought it sounded too good to be true. How can you make real ice cream in just one mug?
But I tried it, and wow! In less than 30 minutes, I had creamy, cold vanilla ice cream that tasted better than store-bought.
If you want to enjoy that classic restaurant-style flavor at home, try this Dairy Queen vanilla ice cream .
Now I make this Dash My Mug Vanilla Ice Cream Recipe at least twice a week. My family loves it, and you will too.
What Does Dash My Mug Vanilla Ice Cream Taste Like?
When I first made this ice cream, I wasn’t sure what to expect. Would it taste like those cheap frozen treats from the gas station? Or would it be creamy and rich like the expensive stuff?
I’m happy to tell you it tastes amazing. The vanilla flavor is smooth and not too sweet. It reminds me of the ice cream my grandmother used to make, but without all the work.
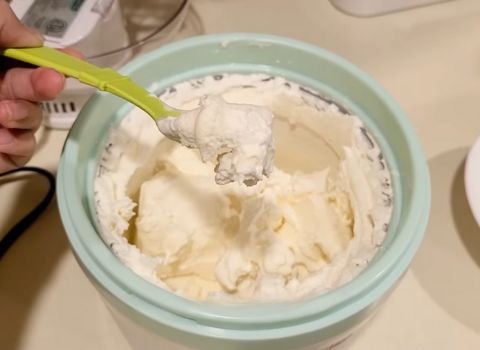
You get that creamy texture that melts perfectly on your tongue. The ice cream has tiny vanilla specks throughout, which makes it look and taste homemade.
What I love most is how fresh it tastes. Since you make it right before eating, there’s no freezer burn or ice crystals.
The texture stays smooth and creamy from the first bite to the last. My kids say it tastes like a vanilla milkshake that got frozen in the perfect way.
Key Ingredients in Dash My Mug Vanilla Ice Cream
- Heavy Cream (1 cup): This is what makes your ice cream rich and creamy. Heavy cream has more fat than regular milk, which is why it creates that smooth texture we all love. Don’t try to use regular milk here – it won’t work the same way. If you can’t find heavy cream, you can use whipping cream instead. Both work great.
- Whole Milk (1/2 cup): I add milk to make the ice cream a little lighter. Whole milk works best because it still has some fat in it. You could use 2% milk if that’s what you have, but the ice cream might not be as creamy. Stay away from skim milk – it will make your ice cream taste thin and watery.
- Sugar (1/3 cup): Regular white sugar works perfectly. The sugar doesn’t just make it sweet – it also helps the ice cream stay soft when it freezes. You can use less sugar if you don’t like things too sweet, but don’t cut it out completely. You could try honey instead, but use a little less since honey is sweeter than sugar.
- Pure Vanilla Extract (2 teaspoons): This is where the magic happens. Real vanilla extract makes all the difference. Don’t use the fake vanilla flavoring – it tastes strange and chemical-like. If you want to be extra fancy, you can scrape the seeds from one vanilla bean pod instead. But the extract works great and is much easier to find.
- Salt (tiny pinch): This might sound weird, but a tiny bit of salt makes the vanilla taste stronger. You won’t taste the salt at all, but it helps bring out all the other flavors. Just use regular table salt – nothing fancy needed.
- Egg Yolk (1 large): This is optional, but I like to add one egg yolk because it makes the ice cream extra rich and smooth. The egg yolk acts like glue to hold everything together. Make sure to use a fresh egg from the refrigerator. If you don’t want to use eggs, you can skip this ingredient. The ice cream will still taste good.
Required Kitchen Tools
Here’s what you’ll need to make this Dash My Mug Vanilla Ice Cream Recipe. Most of these are probably already in your kitchen!
- Measuring cups and spoons
- Small mixing bowl
- Wire whisk or fork
- Rubber spatula
- Ice cream scoop (optional but helpful)
How To Make Dash My Mug Vanilla Ice Cream Recipe
Step 1 | Get Your Mug Ready
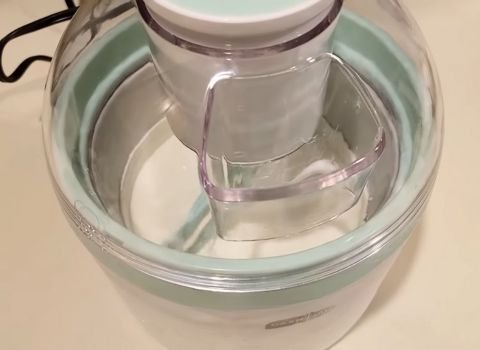
Take your mug with the cooling bowl out of the freezer. It should have been in there for at least 24 hours. The mug needs to be super cold for this to work. Place it on your counter on a stable surface where it won’t move around.

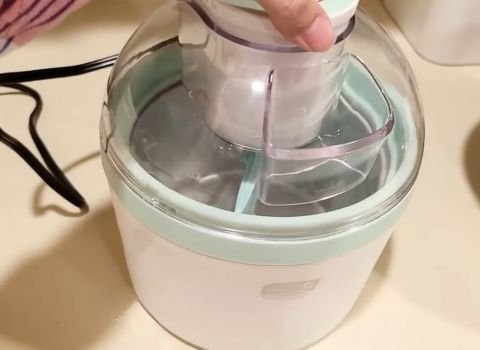
Step 2 | Set Up Your Machine
Put the motor on top of the lid. You’ll see little pins that need to fit into the slots. Push down until it clicks in place. Next, put the paddle into the slot at the bottom of the motor. It should click when it’s in the right spot. Now lower the whole cover with the motor and paddle into the mug. Turn it clockwise until everything locks together.
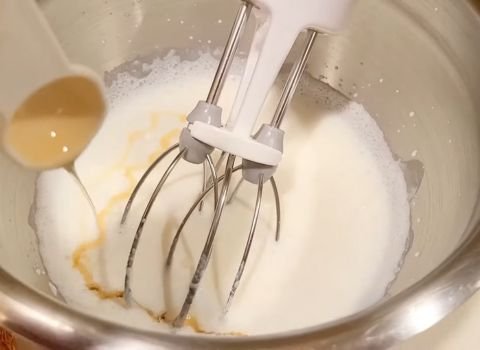
Step 3 | Mix Your Ingredients
In a small bowl, whisk together the heavy cream, milk, sugar, vanilla extract, and salt. Stir until the sugar dissolves completely. You don’t want any grainy bits. If you’re using an egg yolk, whisk it in now until everything is smooth. The mixture should look creamy and smell like vanilla.
Step 4 | Start Churning
Plug in your ice cream maker and press the power switch. The paddle will start spinning. This is important – pour your cream mixture through the food chute while the motor is running. Don’t stop the motor or pour it all at once. Pour slowly and steadily.
Step 5 | Watch the Magic Happen
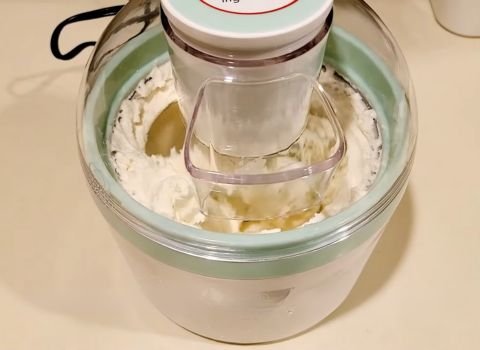
Let the machine run for about 15-20 minutes. You’ll see the mixture start to thicken and freeze. It will go from liquid to soft-serve consistency. Keep watching because every freezer is different, and your ice cream might be ready sooner or later.
Step 6 | Check for Doneness
Your ice cream is ready when it looks thick and creamy, like soft-serve from an ice cream shop. It should coat the paddle nicely. If you want it firmer, let it churn a few more minutes. But don’t go too long, or it might get too hard.
Step 7 | Finish and Serve
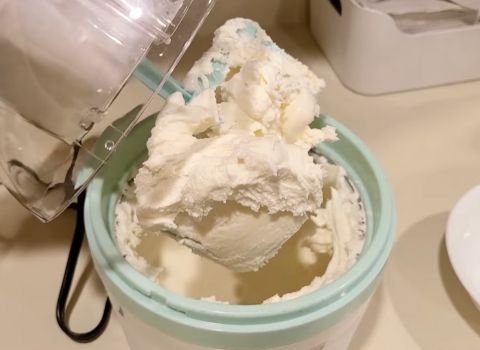
Turn off the motor and twist the base counter-clockwise to unlock it. Lift off the cover carefully. The paddle will stay in the ice cream, which is actually helpful because it means less mess. Pull out the paddle and enjoy your ice cream right from the mug!
Chef’s Notes + Tips
- Always freeze your mug for a full 24 hours – this is the most important step
- Your freezer needs to be at 0°F or colder for best results
- Pour ingredients slowly through the chute while the motor runs
- Don’t overfill – stick to the recipe amounts
- Clean all parts right after use to prevent buildup
- If ice cream gets too hard, let it sit for 2-3 minutes before scooping
- Add mix-ins like chocolate chips in the last 2 minutes of churning
- Room temperature ingredients mix better than cold ones
- Don’t open the lid while churning – it lets cold air escape
Make Ahead & Storage
You can make this Dash My Mug Vanilla Ice Cream mix ahead of time and keep it in your fridge for a few hours until you’re ready to freeze it in the mug.
That way, it’s all set when you’re craving a treat. After churning, you can also cover the mug and keep the ice cream in the freezer for a day or two. It’s best eaten fresh, though; after two days the texture may get a bit hard.
If your ice cream has ice crystals on top or smells odd, it may be best to toss it out. I never eat my ice cream if the color changes or it’s watery.
Re-freezing melted ice cream makes it icy, so I just make a new batch instead. Homemade ice cream doesn’t last as long as store-bought, but since it’s so easy to make, that’s okay.
How To Serve Dash My Mug Vanilla Ice Cream
I like to serve this ice cream straight from the mug while it’s soft and creamy. It’s easy to scoop and perfect for eating right away with your favorite toppings.
You can sprinkle on some chocolate chips, drizzle caramel sauce, or pour on a handful of crushed cookies. I sometimes slice up fresh strawberries or bananas and add them on top.
Another way I enjoy it is with a little whipped cream. If you want, you can spoon the ice cream into a dish or cone, but honestly, it tastes even better right out of the cold mug.
You can even have two small batches in one evening because making it is so quick. Sharing with a friend or enjoying all by yourself makes this treat feel special and made just for you.
Dash My Mug Vanilla Ice Cream Recipe FAQs
1. Do I need to pre-freeze the mug every time?
Yes, you must freeze the mug before every use. That’s how the ice cream gets cold and thick. I keep mine in the freezer all the time, just in case.
2. Can I double the recipe for more ice cream?
No, the Dash My Mug is made for one serving at a time. If you want more, you’ll need to make it again or buy another mug.
3. What mix-ins work best with this recipe?
I like mini chocolate chips, crushed cookies, and peanut butter bits. You can also try fruit like chopped strawberries or bananas. Just make sure they’re small pieces.
4. Is it safe for kids to use?
Yes — with adult help. Kids can pour the mix and watch, but an adult should handle the machine setup and plug. It’s a fun family thing to do together.
5. Can I use almond or oat milk?
You can, but the texture will be different. They don’t have the same fat as dairy. It may be more icy than creamy, but still yummy!
Dash My Mug Vanilla Ice Cream Recipe
Creamy & rich Dash My Mug Vanilla Ice Cream made in just 25 mins! This easy small-batch recipe is perfect for quick vanilla cravings anytime.
Ingredients
- Heavy Cream – 1 cup
- Whole Milk – 1/2 cup
- Sugar – 1/3 cup
- Pure Vanilla Extract – 2 teaspoons
- Salt – a tiny pinch
- Egg Yolk (optional) – 1 large
Instructions
Step 1 | Get Your Mug Ready
Take your mug with the cooling bowl out of the freezer. It should have been in there for at least 24 hours. The mug needs to be super cold for this to work. Place it on your counter on a stable surface where it won't move around.
Step 2 | Set Up Your Machine
Put the motor on top of the lid. You'll see little pins that need to fit into the slots. Push down until it clicks in place. Next, put the paddle into the slot at the bottom of the motor. It should click when it's in the right spot. Now lower the whole cover with the motor and paddle into the mug. Turn it clockwise until everything locks together.
Step 3 | Mix Your Ingredients
In a small bowl, whisk together the heavy cream, milk, sugar, vanilla extract, and salt. Stir until the sugar dissolves completely. You don't want any grainy bits. If you're using an egg yolk, whisk it in now until everything is smooth. The mixture should look creamy and smell like vanilla.
Step 4 | Start Churning
Plug in your ice cream maker and press the power switch. The paddle will start spinning. This is important - pour your cream mixture through the food chute while the motor is running. Don't stop the motor or pour it all at once. Pour slowly and steadily.
Step 5 | Watch the Magic Happen
Let the machine run for about 15-20 minutes. You'll see the mixture start to thicken and freeze. It will go from liquid to soft-serve consistency. Keep watching because every freezer is different, and your ice cream might be ready sooner or later.
Step 6 | Check for Doneness
Your ice cream is ready when it looks thick and creamy, like soft-serve from an ice cream shop. It should coat the paddle nicely. If you want it firmer, let it churn a few more minutes. But don't go too long, or it might get too hard.
Step 7 | Finish and Serve
Turn off the motor and twist the base counter-clockwise to unlock it. Lift off the cover carefully. The paddle will stay in the ice cream, which is actually helpful because it means less mess. Pull out the paddle and enjoy your ice cream right from the mug!
Nutrition Information:
Serving Size: 1Amount Per Serving: Calories: 430Total Fat: 38gSaturated Fat: 23gCholesterol: 210mgSodium: 75mgCarbohydrates: 22gSugar: 21gProtein: 4g
Final Thoughts
Making this Dash My Mug Vanilla Ice Cream Recipe has brought so much joy to my kitchen. There’s something magical about watching cream and sugar turn into smooth, creamy ice cream right before your eyes.
My kids love helping me make it, and I love knowing exactly what ingredients go into our dessert. Give this recipe a try – I promise you’ll be making homemade ice cream all the time once you see how easy it is!