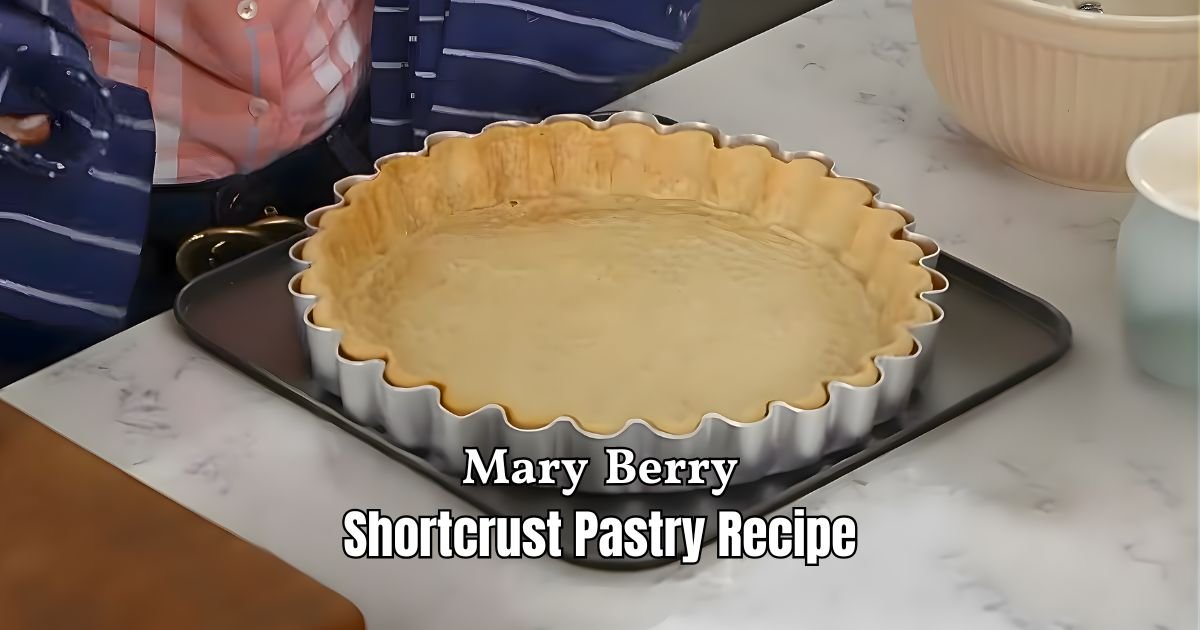
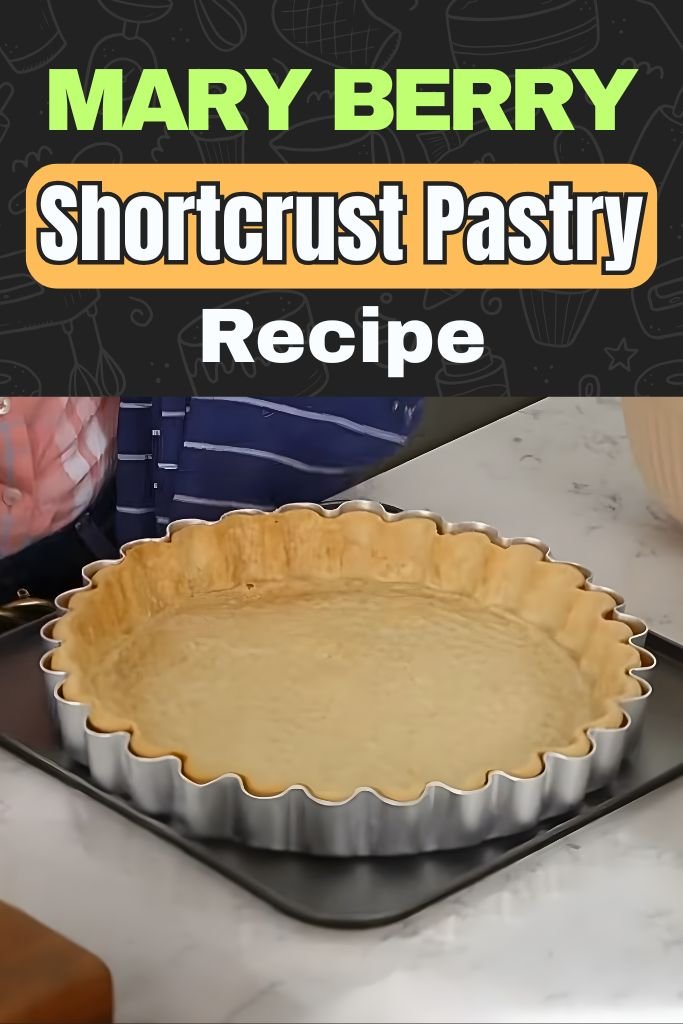
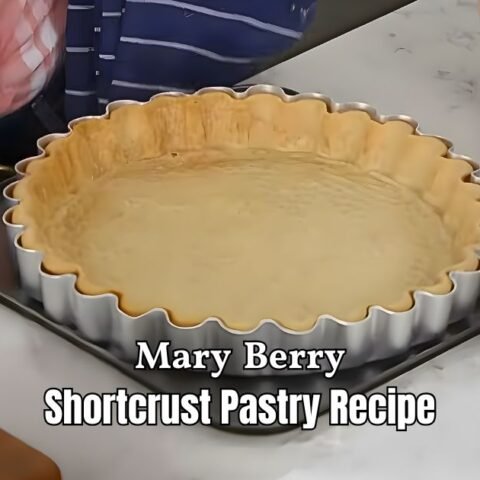
Mary Berry Shortcrust Pastry Recipe
Making your own pastry can seem tricky, but Mary Berry Shortcrust Pastry Recipe shows just how easy it can be. This classic pastry is soft, buttery, and perfect for tarts, pies, and quiches.
Watching someone roll out a smooth, golden pastry for the first time is inspiring. The crisp edges and melt-in-your-mouth texture feel special every time you bite into it.
Many people think pastry is only for experts, but with a little guidance, anyone can create it. Mary Berry’s method simplifies every step.
From combining flour and butter to forming a smooth dough, each stage is straightforward.
This copycat includes clear instructions that make shortcrust pastry user-friendly.
Following it carefully ensures your pastry never turns out too dry, crumbly, or tough.
What Makes the Best Shortcrust Pastry
For me, the best shortcrust pastry starts with cold butter, steady hands, and the right texture.
You want a dough that comes together without turning sticky or warm. When you blend the butter into the flour until it looks like crumbs, the crust stays tender later.
You and I both know how helpful it is to keep things simple, and this recipe does that.
With a little care and the right chill time, the pastry turns out crisp on the edges and soft inside.
Difference Between Shortcrust Pastry and Pie Crust
1. Regional Name (UK vs. US): In the United Kingdom, people call it shortcrust pastry.
In the United States, most people simply say pie crust. Both terms describe similar baked goods, but the names reflect local baking traditions.
2. Ingredients and Ratios: British shortcrust often uses a higher amount of butter compared to flour, giving it a richer taste.
American pie crust may include shortening along with butter, which slightly changes the texture. Some US recipes also add a little sugar or vinegar.
3. Texture and Consistency: Shortcrust pastry is usually more crumbly and delicate.
Pie crust can be sturdier and easier to handle, especially when shortening is used. Both should be tender, but the exact feel depends on the recipe.
4. Sweetness Levels: Shortcrust pastry comes in both sweet and savory versions. Sweet shortcrust includes more sugar for dessert tarts.
American pie crust for fruit pies usually has less sugar in the dough and depends on the filling for sweetness.
Mary Berry Shortcrust Pastry Ingredients
- All-purpose flour (1 ¾ cups / 225 g): Flour forms the main base of the pastry. It gives structure while letting the butter and egg add richness. Always use plain flour, not self-rising, to keep the texture light. For a slightly nutty flavor, swap a few tablespoons with whole wheat flour.
- Unsalted butter, chilled (½ cup / 115 g): Butter is what gives the pastry its soft layers and lovely taste. It must be very cold before you add it to the processor. Cut it into small cubes so it mixes evenly. Salted butter can work too; just leave out any added salt. For a dairy-free version, cold vegan butter is fine.
- Large egg (1): The egg helps the dough hold together and adds richness. It also gives the crust a golden color. For a lighter version, skip the egg and add one extra tablespoon of cold water.
- Cold water (1 tablespoon): Cold water helps form the dough without making it sticky. Add just enough for the dough to come together. Always use ice-cold water so the butter stays firm.
Essential Kitchen Equipment
- Food processor – Makes blending quick and easy.
- Mixing bowl – Holds flour and butter if you mix by hand.
- Measuring cups and spoons – For precise ingredient amounts.
- Rolling pin – To roll dough evenly.
- Tart tin or pie pan – Shapes the pastry.
- Baking paper – Keeps the pastry from sticking.
- Baking beans or rice – For blind baking.
- Cling film (plastic wrap) – For chilling the dough.
How To Make Mary Berry Shortcrust Pastry
Step 1 | Prepare the flour and butter
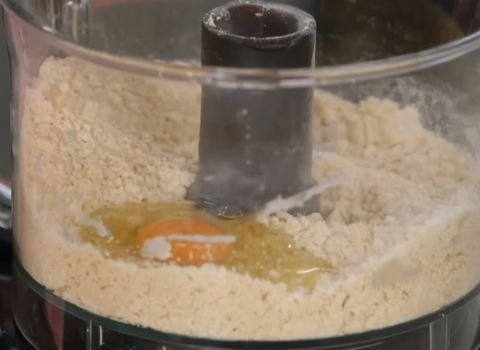
Place the flour in a food processor. Cut the chilled butter into small cubes and add to the flour. Pulse the processor in short bursts until the mixture looks like coarse breadcrumbs. Be careful not to over-mix.

Step 2 | Mix the egg and water
Crack the egg into a small bowl. Add the cold water and lightly beat with a fork. Pour the egg mixture over the flour and butter in the processor. Pulse again until the dough just starts to clump together.
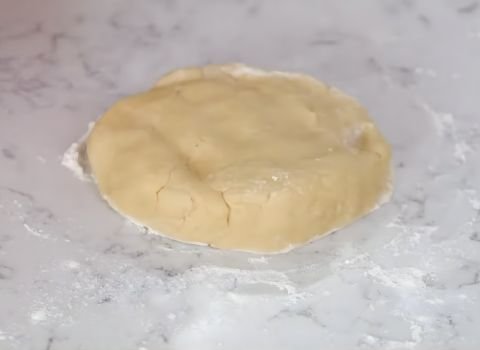
Step 3 | Form the dough
Transfer the dough to a lightly floured surface. Press it gently to form a smooth ball. Flatten into a thick disc and wrap in cling film. Chill in the refrigerator for at least 15 minutes.
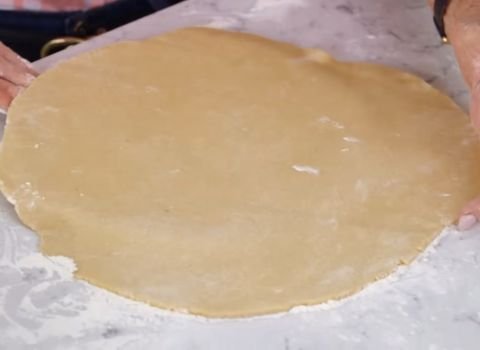
Step 4 | Roll out the pastry
Sprinkle flour on the counter and rolling pin. Place the dough disc in the center and roll from the center outwards. Turn the dough a quarter turn after each roll. Roll until it is about 3 inches larger than your tart tin.
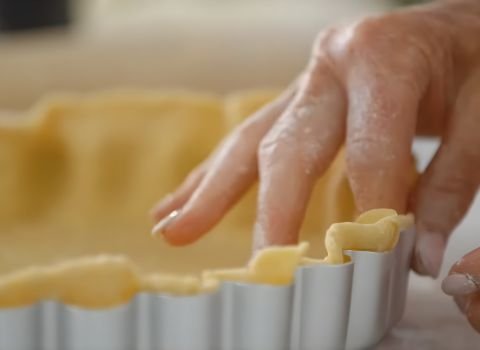
Step 5 | Line the tart tin
Roll the dough around the rolling pin and unroll over the tart tin. Press gently into the sides and bottom. Use extra dough to fill gaps and press edges into fluted patterns. Trim excess by rolling the pin over the top.
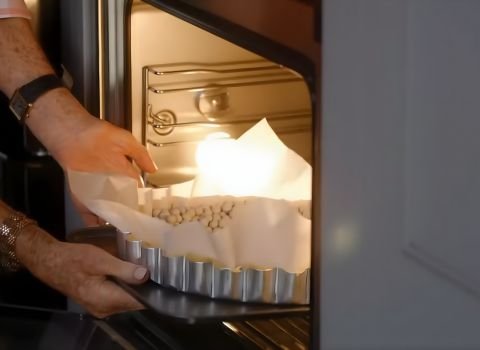
Step 6 | Blind Bake
Line the pastry with parchment paper and fill it with baking beans or rice. Bake in a preheated oven at 375°F (190°C) for 15 minutes. Then remove the beans and paper and bake for another 5–10 minutes until light golden.
Step 7 | Cool the Pastry
Set the baked crust on a cooling rack. Once cool, it’s ready to be filled with your favorite fillings – from quiche to apple pie.

Tips for Perfect Shortcrust Pastry Every Time
- Work in a Cool Kitchen: Pastry-making works best when your kitchen is cool. Hot summer days make the butter melt faster. You can chill your mixing bowl and food processor bowl in the fridge beforehand.
- Patch Cracks Before Baking: Small tears and cracks happen sometimes when you roll the dough. Don’t worry. Just press a little extra dough into the crack and smooth it out. This seals any weak spots.
- Let the Pastry Cool Fully Before Filling: Hot pastry will make wet fillings soggy. Always let your baked case cool completely on a wire rack before you add custard, cream, or fruit fillings.
- Handle the Dough Gently: Use light pressure when rolling or pressing. Too much force can make the pastry tough.
- Fix Cracks During Assembly: Tears or cracks can happen when moving pastry. Press scraps of dough into any gaps before baking. Smooth them with your fingers dipped in cold water.
What to Make with Mary Berry’s Shortcrust Pastry
1. Classic Quiche Lorraine: Fill your baked crust with bacon, cheese, and a creamy egg mixture. Bake until set and golden. This makes a perfect brunch or light dinner.
2. Fresh Fruit Tart: Brush the cooled crust with melted chocolate, then fill with pastry cream. Top with fresh berries, sliced peaches, or kiwi. Glaze with apricot jam for shine.
3. Lemon Tart: Pour tangy lemon curd into your baked shell. Chill until firm. Dust with powdered sugar before serving. The sweet pastry balances the sour filling beautifully.
4. Apple Pie: Line your pie dish with this pastry, add spiced apple slices, and top with another pastry layer. Brush with egg wash and bake until golden and bubbling.
5. Savory Vegetable Tart: Fill with roasted vegetables, goat cheese, and fresh herbs. Bake until the filling sets. Serve warm or at room temperature.
6. Jam Tarts: Press small circles into a muffin tin. Add a teaspoon of your favorite jam to each. Bake for 15 minutes. Kids love these sweet treats.
Storage and Make-Ahead Instructions
This dough keeps well in the refrigerator for up to 2 days when wrapped tightly. It stays firm and easy to roll after a short rest at room temperature.
Freezing works great too. Wrap the disc in cling film and place it in a freezer bag. It stays good for up to two months. Let it thaw in the fridge overnight before rolling. The baked crust also freezes well, making it handy for busy days.
Mary Berry Shortcrust Pastry Recipe FAQs
1. Why does the dough need chilling before rolling?
Chilling keeps the butter cold, which helps protect the pastry from shrinking or turning greasy. It also firms the dough, so it rolls smoothly without sticking to the counter.
Even a short chill helps improve the final texture and gives the crust a cleaner shape in the tart or pie pan.
2. How do I stop the pastry from breaking when I roll it?
A little cracking is normal. Lightly dust the surface with flour and roll from the center out. Turn the dough a little after each roll.
If it cracks on the edges, press them back together gently. Keeping the dough cool and not too dry helps prevent most breaks.
3. What should I do if the crust bubbles during blind baking?
Bubbles happen when steam gets trapped. Baking beans or rice help prevent this. If you notice a bubble forming after removing the beans, use a fork to poke a tiny hole to release the air, then let it finish baking until light golden.
4. What’s the best way to prevent a soggy bottom?
Soggy bottoms happen when moisture from the filling seeps into the pastry. To prevent this, always blind bake your crust first.
For extra protection, brush the warm base with a thin layer of egg white or melted chocolate to seal it. Baking the tart on a preheated baking sheet on the bottom rack also helps keep the bottom crisp.
5. How thick should I roll my pastry?
Roll your pastry about ⅛ inch (3 mm) thick. This ensures it bakes evenly and holds its shape. Too thin can tear or burn, too thick may stay raw and heavy.
Check by lifting an edge – the dough should be slightly see-through but still strong enough to handle.
6. Why did my pastry shell shrink so much in the oven?
Shrinking often happens if the dough isn’t chilled enough before baking or if it was stretched when placed in the pan.
Always chill the dough after rolling. When you place it in the pan, let the dough slump in and gently press it to fit – don’t pull or stretch it to the edges.
Mary Berry Shortcrust Pastry Recipe
Make Mary Berry Shortcrust Pastry Recipe easily at home! Prep 20 min, bake 20–25 min. Perfect for tarts, pies & quiches every time.
Ingredients
- All-purpose flour: 1 ¾ cups (225 g)
- Unsalted butter, chilled: ½ cup (115 g), cut into small cubes
- Large egg: 1
- Cold water: 1 tablespoon
Instructions
- Place the flour in a food processor. Cut the chilled butter into small cubes and add to the flour. Pulse the processor in short bursts until the mixture looks like coarse breadcrumbs. Be careful not to over-mix.
- Crack the egg into a small bowl. Add the cold water and lightly beat with a fork. Pour the egg mixture over the flour and butter in the processor. Pulse again until the dough just starts to clump together.
- Transfer the dough to a lightly floured surface. Press it gently to form a smooth ball. Flatten into a thick disc and wrap in cling film. Chill in the refrigerator for at least 15 minutes.
- Sprinkle flour on the counter and rolling pin. Place the dough disc in the center and roll from the center outwards. Turn the dough a quarter turn after each roll. Roll until it is about 3 inches larger than your tart tin.
- Roll the dough around the rolling pin and unroll over the tart tin. Press gently into the sides and bottom. Use extra dough to fill gaps and press edges into fluted patterns. Trim excess by rolling the pin over the top.
- Line the pastry with parchment paper and fill it with baking beans or rice. Bake in a preheated oven at 375°F (190°C) for 15 minutes. Then remove the beans and paper and bake for another 5–10 minutes until light golden.
- Set the baked crust on a cooling rack. Once cool, it’s ready to be filled with your favorite fillings - from quiche to apple pie.
Nutrition Information:
Serving Size: 1Amount Per Serving: Calories: 220Total Fat: 13gSaturated Fat: 8gCholesterol: 55mgSodium: 30mgCarbohydrates: 23gFiber: 1gSugar: 1gProtein: 4g
The Mary Berry Shortcrust Pastry Recipe succeeds when the dough stays cold, the steps stay simple, and you keep practicing until it feels natural.
Try your own flavors, share what you create online, and enjoy the calm pleasure that comes from shaping a tender, homemade crust in your own home.