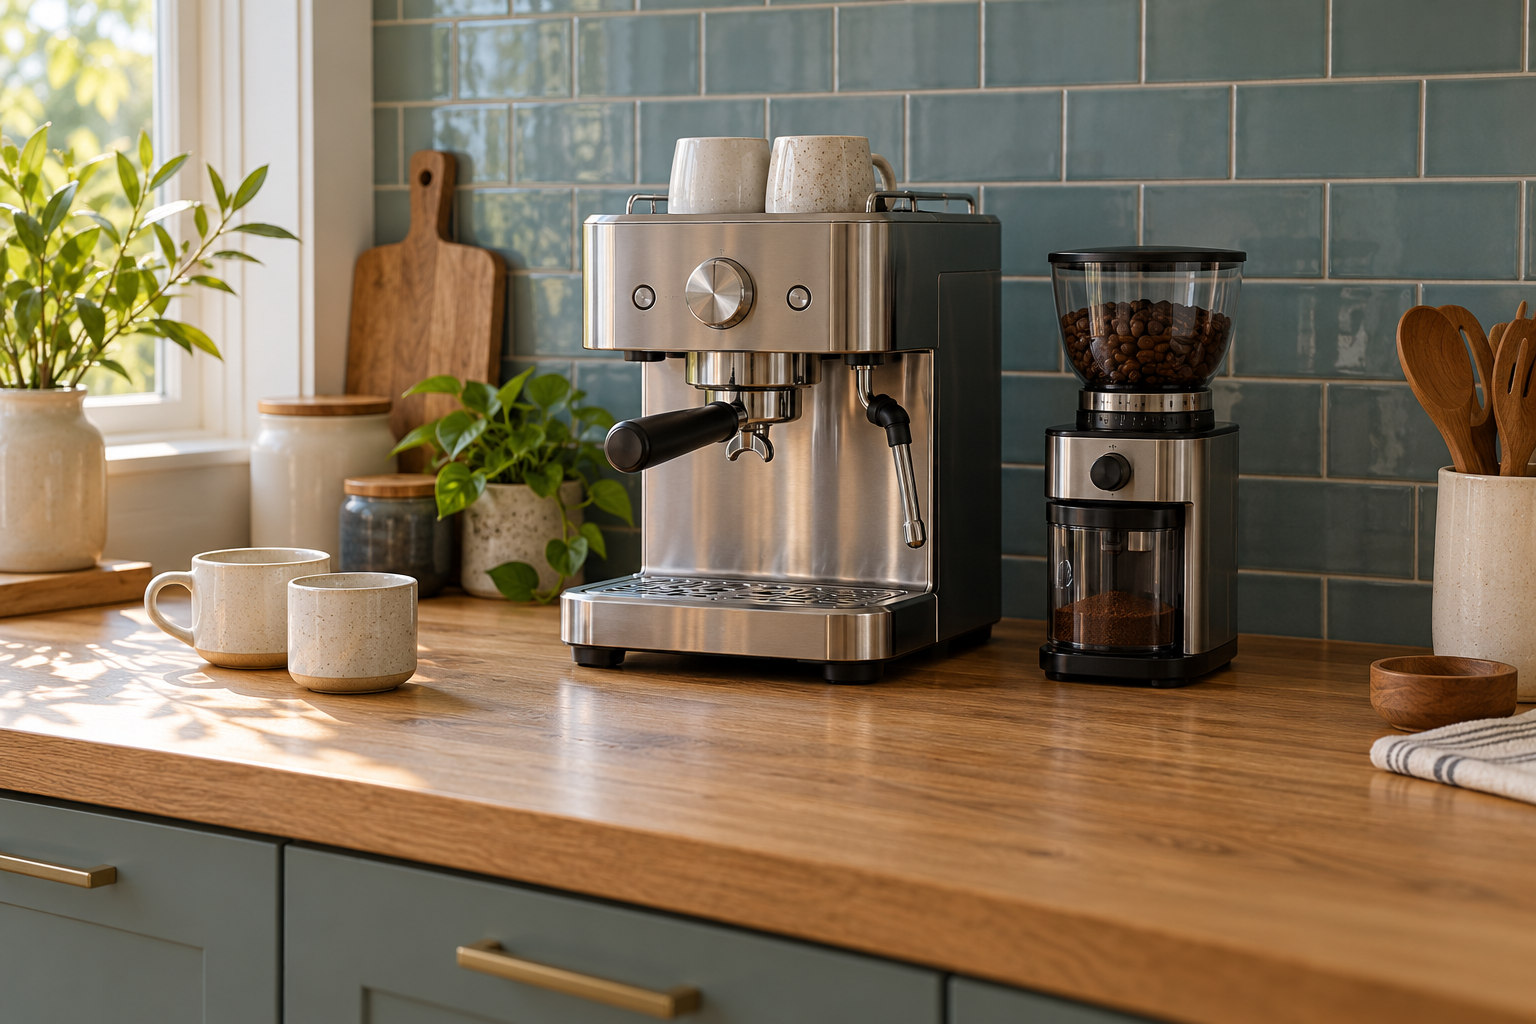
Planning the Perfect Home Coffee Bar
A useful home coffee bar needs space to make coffee, refill water and clean up—not just a counter wide enough to hold a machine. Choose your brewing setup first, measure it while you use it, then plan storage, lighting and electrical capacity around that routine.
An open counter is often the easiest starting point. Cabinet doors can hide equipment, but they also add another clearance and operating-space problem to solve.
Build the station around your morning routine
Write down what happens from the first empty mug to the final rinse. A drip-coffee station needs access to its basket and reservoir. Espresso adds a portafilter, a place to tamp, a milk jug and somewhere to empty grounds. Pour-over adds a kettle and a comfortable pouring position.
Keep the things you use every morning within reach. Occasional entertaining supplies can live elsewhere. If two people prepare drinks at once, reserve a second landing spot rather than filling every inch with equipment.
An iced-coffee routine also needs a route to the refrigerator and ice. Our Kylie Pitts coffee recipe is a reminder to plan space for the glass, ice and additions as well as the coffee itself.
Measure the machine in use, not only at rest
Mark the machine and grinder footprints on the counter with paper. Then check the parts that move: reservoir, bean-hopper lid, brew basket, steam wand, drip tray and portafilter handle. Leave room for your hands and for carrying a full water tank without tilting it around a shelf.
A machine that technically fits beneath an upper cabinet may need to be pulled forward for every refill. Decide whether you would actually want to do that. Plan a durable surface that tolerates the equipment’s weight and ordinary cleanup, while following the appliance’s placement instructions.
Give grounds and drips somewhere to go. A small washable tray for accessories and an accessible waste container can be more useful than another decorative jar.

Can you put a coffee bar inside a cabinet?
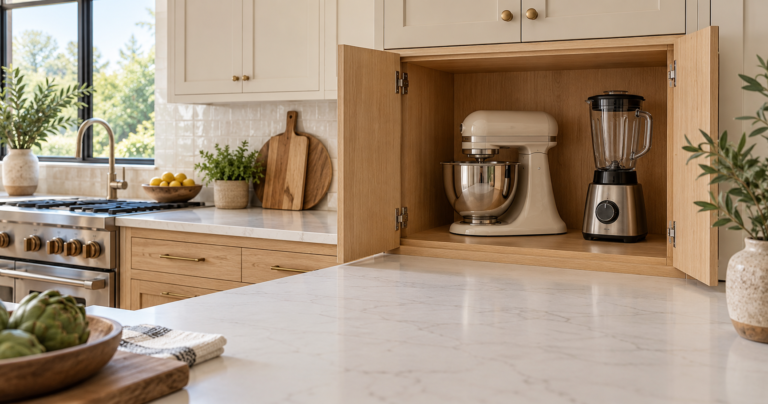
You can store suitable equipment in a cabinet, but storage fit does not establish that it can operate there. Check the exact appliance instructions for placement, heat, steam, ventilation and unattended use. An open cabinet door alone does not prove a machine has adequate operating space.
If you want doors, use our appliance garage planning guide before ordering cabinetry. Decide where the machine will actually brew, where steam will go and how you will reach the plug. Do not run equipment with the enclosure closed unless the complete arrangement is expressly suitable under its instructions.
Electrical guidance reviewed by Lavender Electric LLC
The electrical questions below were reviewed for My Recipes Haven by Lavender Electric LLC, a licensed residential electrical contractor serving the Seattle area, Eastside and Snoqualmie Valley. Its kitchen remodeling services include appliance circuits, receptacle upgrades and GFCI protection. We thank Lavender for reviewing the electrical planning behind this guide. Appliance ratings and operating instructions remain attributed to their manufacturers.
Does a coffee bar need a dedicated circuit?
There is no single circuit answer for every coffee bar. Have an electrician review the actual equipment, manufacturer instructions, existing circuit and other loads served by it. An espresso machine and an electric kettle can demand substantial power at the same time, even though neither looks particularly large.
For a concrete example, the US Breville Bambino BES450 manual lists 1,560 watts at 120 volts. That is 13 amps using watts divided by volts. Add a hypothetical 1,500-watt kettle on the same 120-volt circuit and the combined nameplate arithmetic becomes 25.5 amps. This illustrates why simultaneous loads matter; it is not a circuit design or a prediction that both appliances draw their maximum continuously.
Where should the outlets go?
Plan receptacles around the equipment’s cord reach and plug depth, with access for unplugging and cleaning. Keep cords out of the sink, away from hot surfaces and out of the working area. A plug hidden behind a heavy machine can be a daily inconvenience even if it looks tidy in a photograph.
Ask the electrician which receptacle locations, GFCI/AFCI protection and circuit arrangement the remodel requires. A power strip does not create more circuit capacity.
Can the machine stay plugged in?
Follow the specific machine’s instructions. For example, Breville’s BES450 manual directs users to unplug it when not in use and before cleaning. An automatic standby feature should not be interpreted as permission to ignore that instruction. Make the plug accessible in the finished layout.
Two equipment examples to plan around
The Breville Bambino BES450 is a compact espresso-machine example for a station with a separate grinder. The Breville Smart Grinder Pro BCG820 illustrates the additional counter and hopper-access space a standalone grinder needs. Check the US version, current availability and each manual before buying; a different finish or regional model can lead to a different listing.
We have not hands-on tested these products for this guide. Their role here is to make the planning exercise concrete. An all-in-one machine may simplify the footprint, while a separate grinder gives you another component to place and maintain. Neither arrangement removes the need to check working clearances.
What to decide before installing the station
- The daily brewing method and equipment models.
- Working space for filling, tamping, pouring and cleanup.
- Storage for cups and supplies without crowding hot equipment.
- Lighting that lets you see water levels and spills.
- Electrical capacity, protection and accessible receptacles.
Electrical codes, product requirements and local rules vary and can change. Before electrical work, consult a qualified electrician and verify the adopted code, local requirements and the current manufacturer instructions.
Some images on this page were created with AI for illustrative purposes.